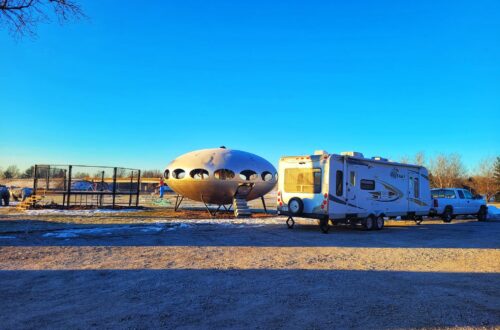
The timing of moving out of the park house into the camper wasn’t the best weather-wise, and it was a little rushed on getting the camper ready. So we decided to winter over in the RV at Josh’s dad’s house. This meant our first winter in the RV was in Northern Illinois and while living stationary. It was a cold winter that featured a polar vortex. We learned a lot of lessons about cold weather RVing, and wanted to share them with you!
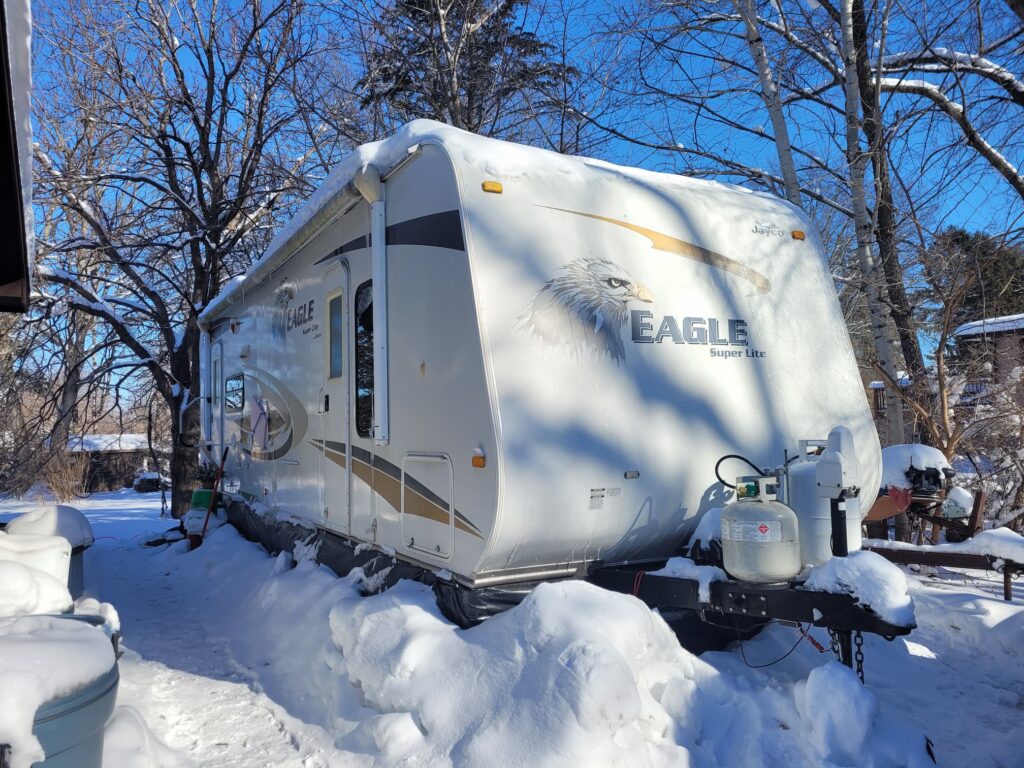
RV Skirting
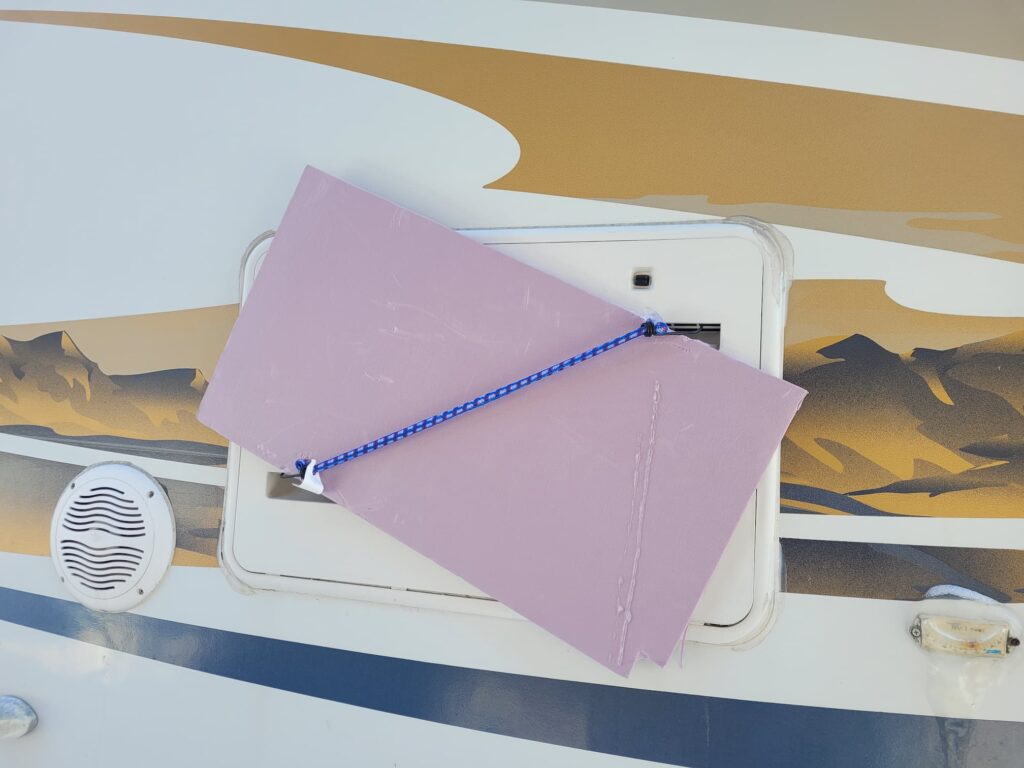
Installing RV skirting was one of the most important things we did for winter RVing. Skirting is important in winter because it keeps the underbelly warm and protected. This prevents tanks from freezing, and helps keep the inside warm too since it prevents a pocket of cold air underneath. We did a LOT of research into skirting options. Some people buy premade skirting, others make their own out of foam boards or recycled billboard vinyl. We wanted something relatively inexpensive, reusable, and easy to store.
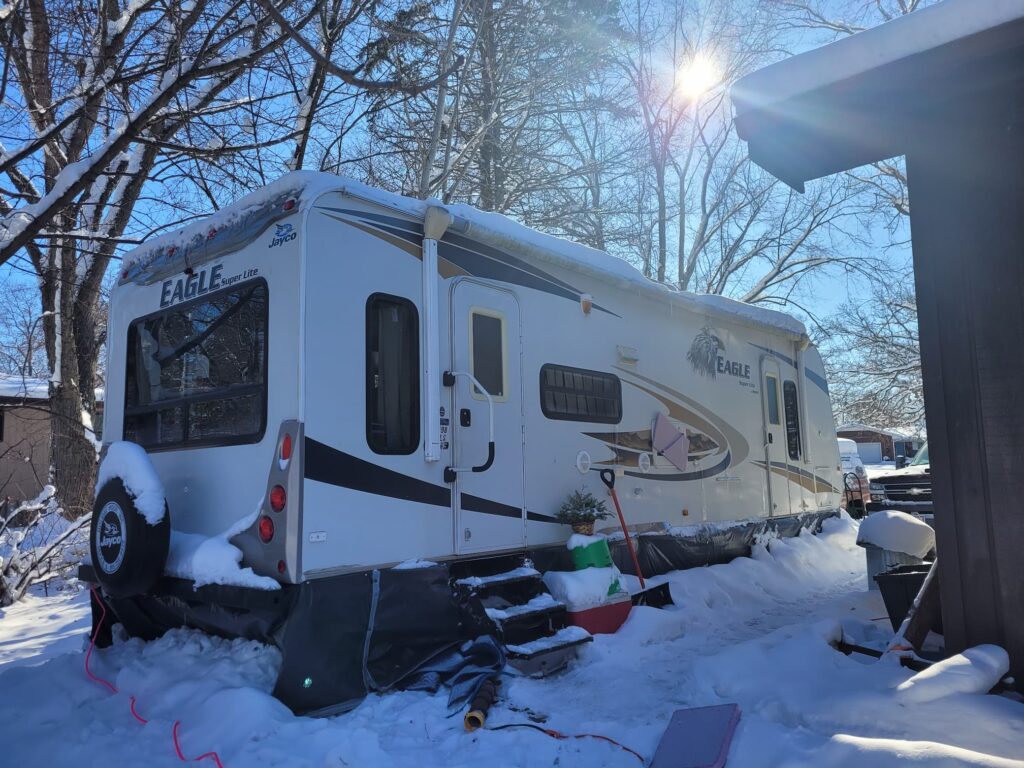
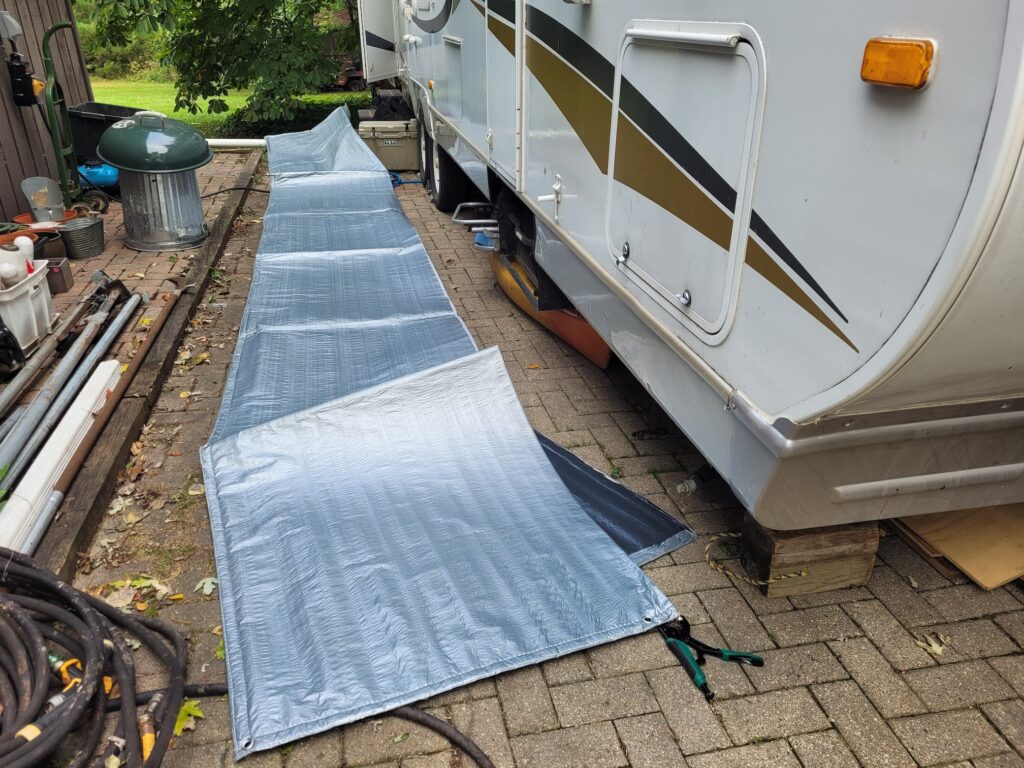
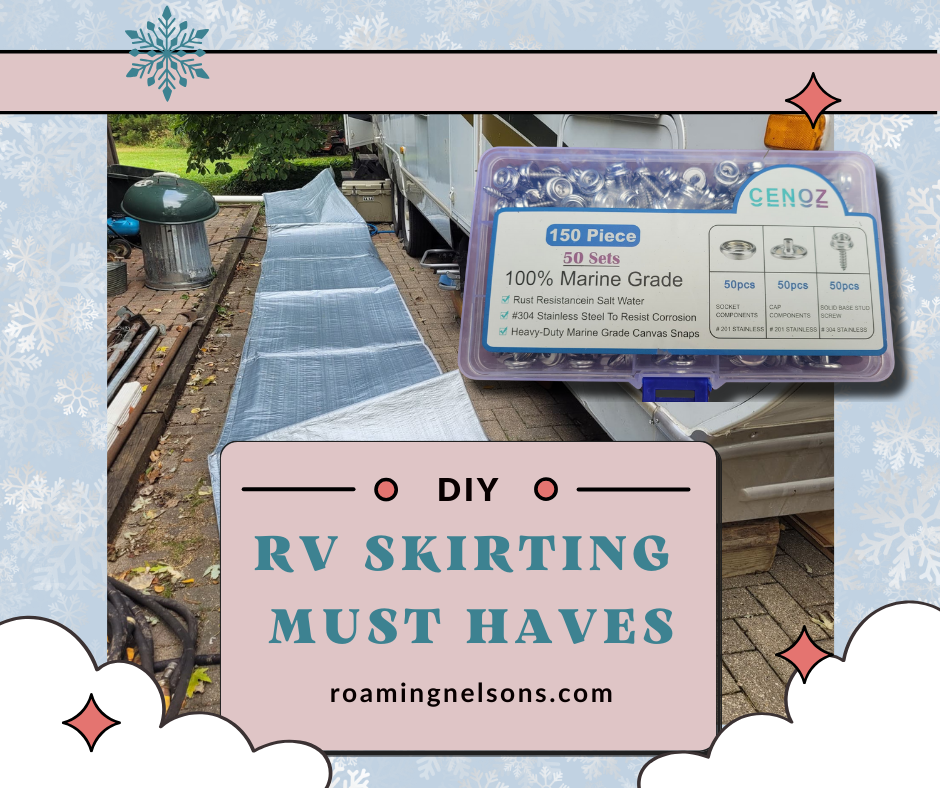
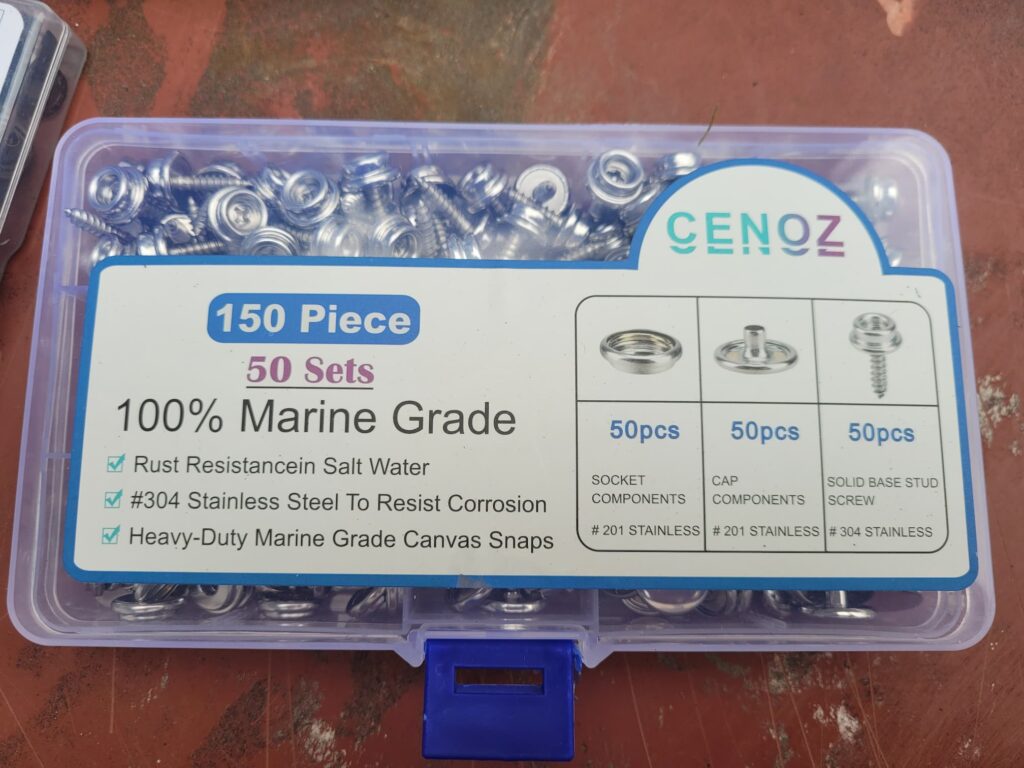
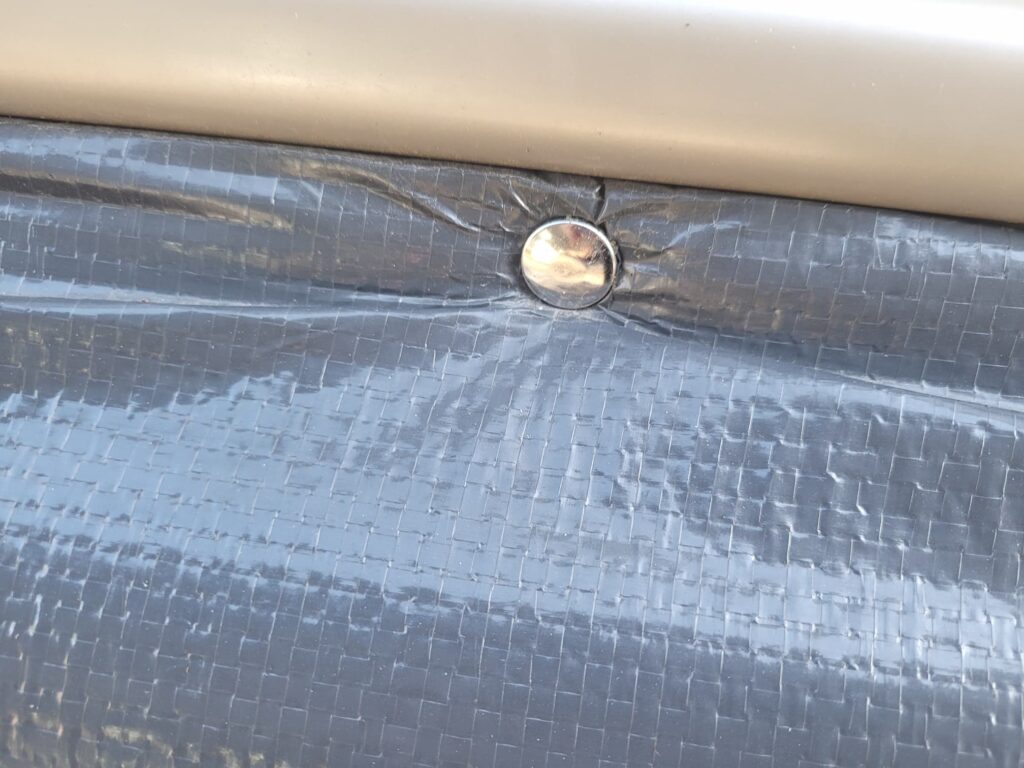
We ended up making our RV skirting out of concrete curing blankets. We ended up buying two 6′ x 25′ curing blankets for a total of $107.76. To make it easier in future years to reuse, we attached the blankets using marine grade snaps. We were a little nervous attaching the socket part to the RV, but it ended up working out really well. We have to be a little careful removing the skirting to not pull off the snaps, but are pretty hopeful it will be an easy process to install again next winter.
RV Hoses in Winter
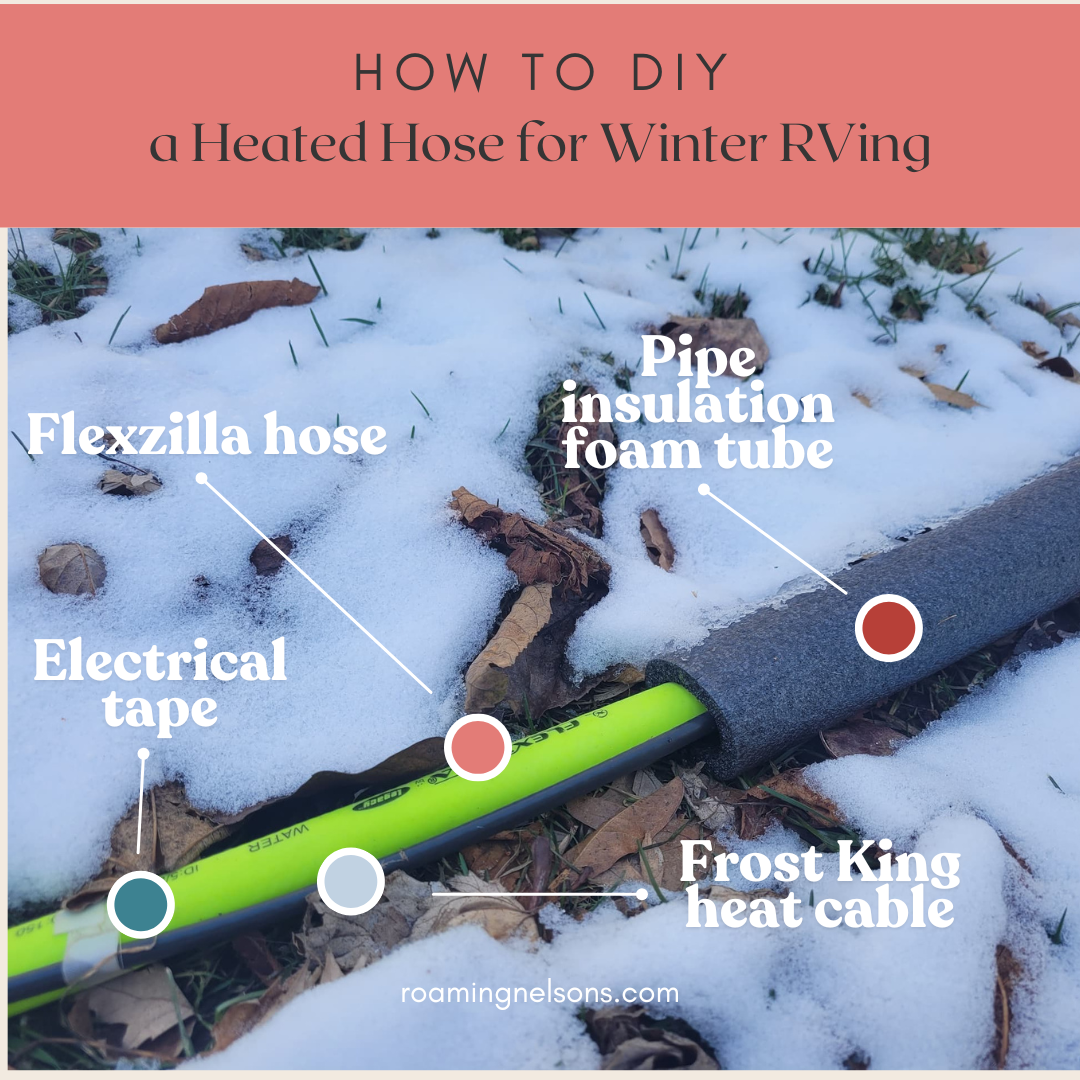
The morning after the first freeze we woke up to no running water. Josh went out to investigate, and his suspicion was correct that it was just one spot in the hose. There’s a connector there and a bit of an upwards angle. He was able to use a heat gun to thaw that spot and we got the water flowing again. We also left the tub faucet on a trickle to keep water moving to prevent further treatment. To solve this problem more permanently, we switched to a heated hose. We looked at buying one, but they were so expensive and we just didn’t want to spend that money. Josh ended up getting heating cable to make his own. He did it the super simple way by just taping on the heating cable and adding some foam in spots. The more proper way would be to wrap the heating cable around the hose for the whole length and covering the entire hose.
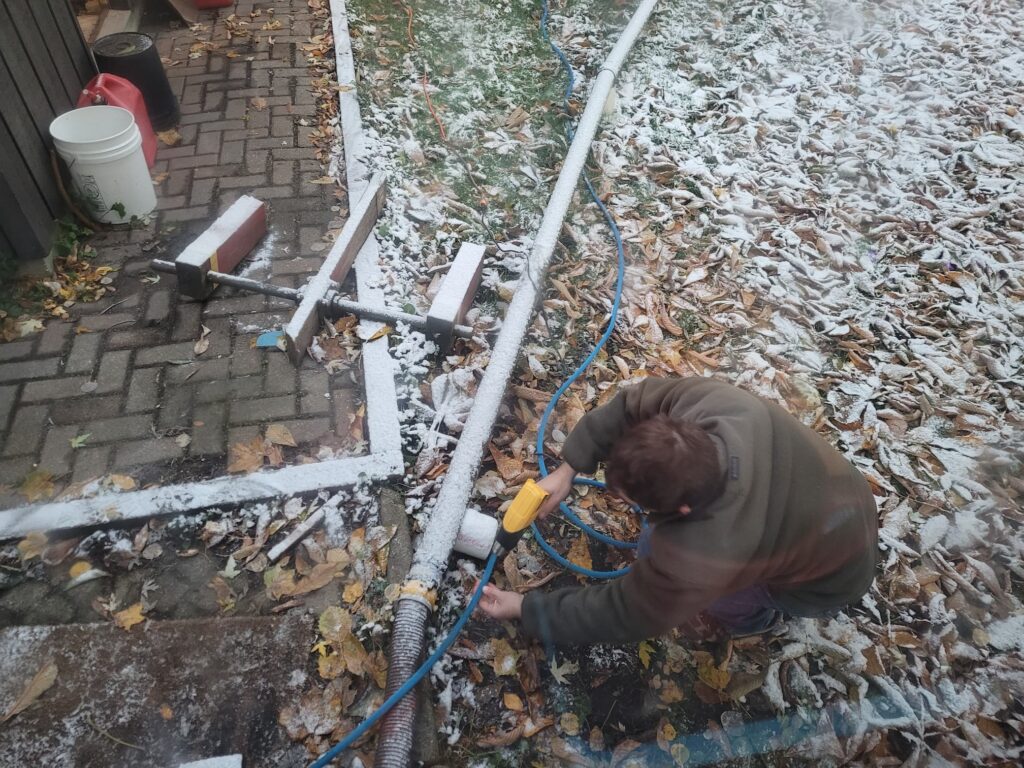
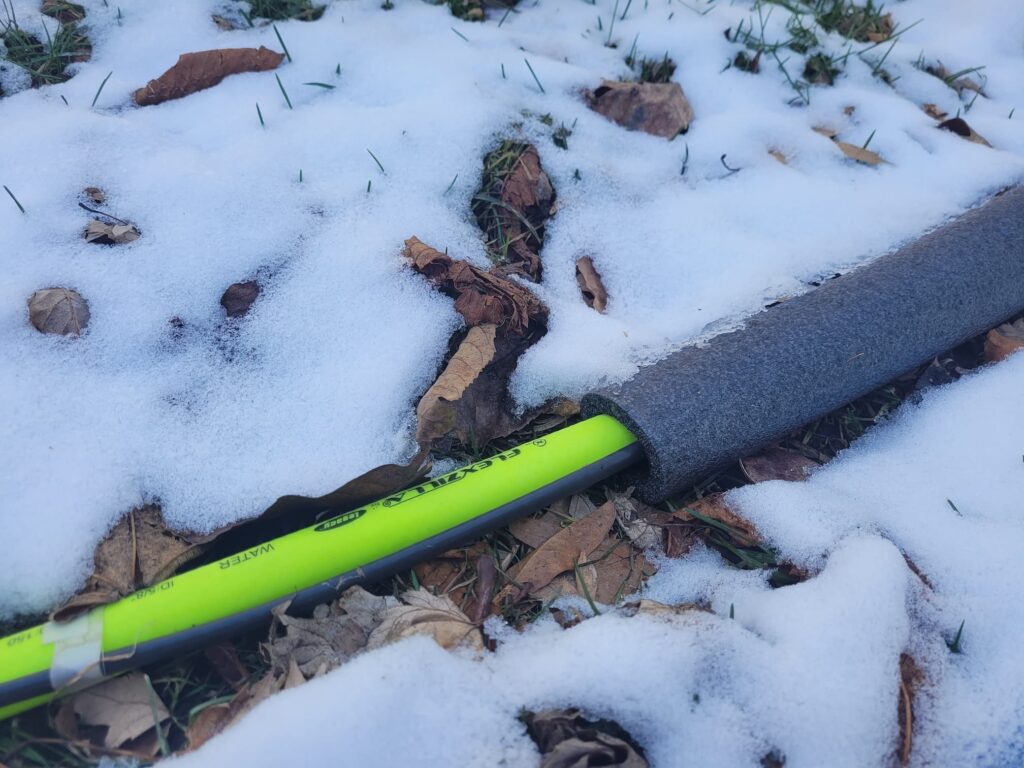
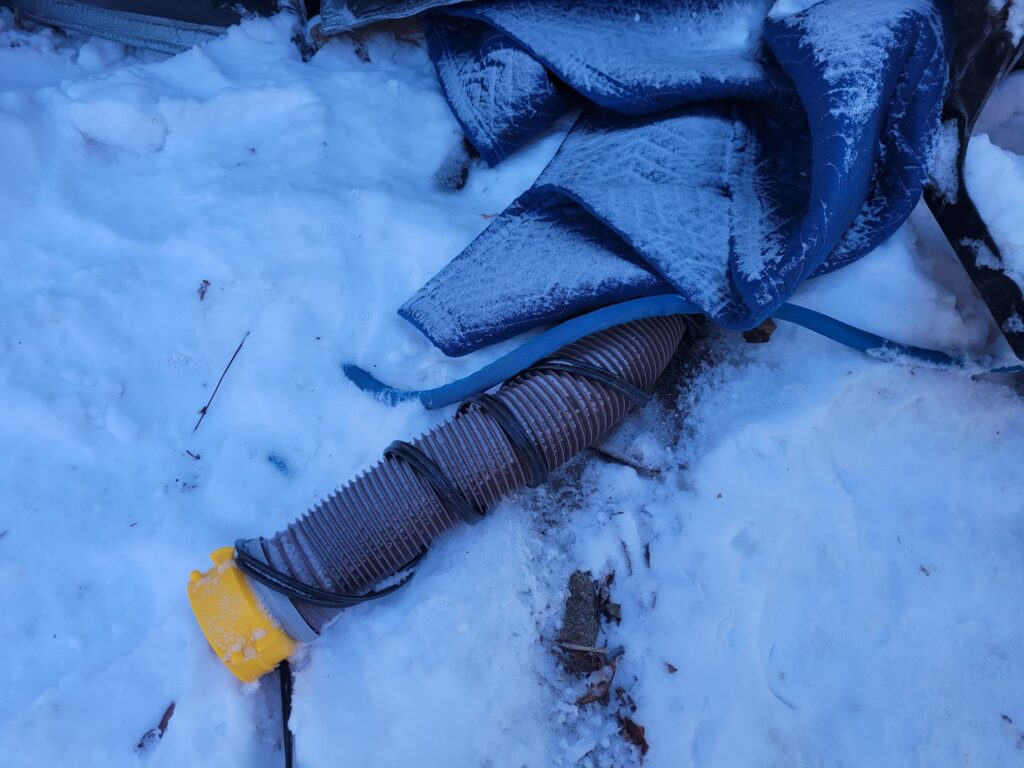
During our worst weather in early January, we turned off the hose and switched to filling the tank and using the water pump instead to avoid hose freezing. In February we had a surprise cold snap, and had a couple mornings where we woke up to frozen hoses again. Luckily, the daytime temperatures were higher by then and the sun was back, so they didn’t take long to thaw
Supplemental Heating for Winter RVing
Other than a broken fan that needed replacing, the RV furnace kept up with the temperatures pretty well. We’ve always kept our house around 68° and we had no trouble keeping the camper comfortable, even in the worst of the cold. Our main concern with relying only on the RV furnace was how much propane we’d use and what that would cost.
We looked at a few options for supplemental heat including ceramic heaters, oil filled heaters, infrared heaters, really just all the heaters! We were all set to buy an oil filled heater, when Josh found almost the exact same one in his dad’s basement. This was just enough to keep the edge off without running the furnace full-blast all day. We liked that it’s supposed to be a safer type of space heater. It was also nice to be able to warm up our clothes in the morning! In the future we plan on using this heater for shoulder seasons to save on propane.
We also ended up also buying a small ceramic space heater that we kept on the kitchen counter pointing towards the door. This helped to prevent cold drafts every time we came in and out of the RV. Some RVers fully rely on electric heaters in winter, and if we were staying at a park with included electric we might have too. But since we were moochdocking at Josh’s dad’s and didn’t want to run up his electric bill like crazy, we tried to strike a balance between propane and electric. One concern with using space heaters is fire risk, and one way to help mitigate that is to not plug the heater into your RV wiring, but instead to run an extension cord to plug it directly into the post.
Monitoring RV Temperatures in Winter
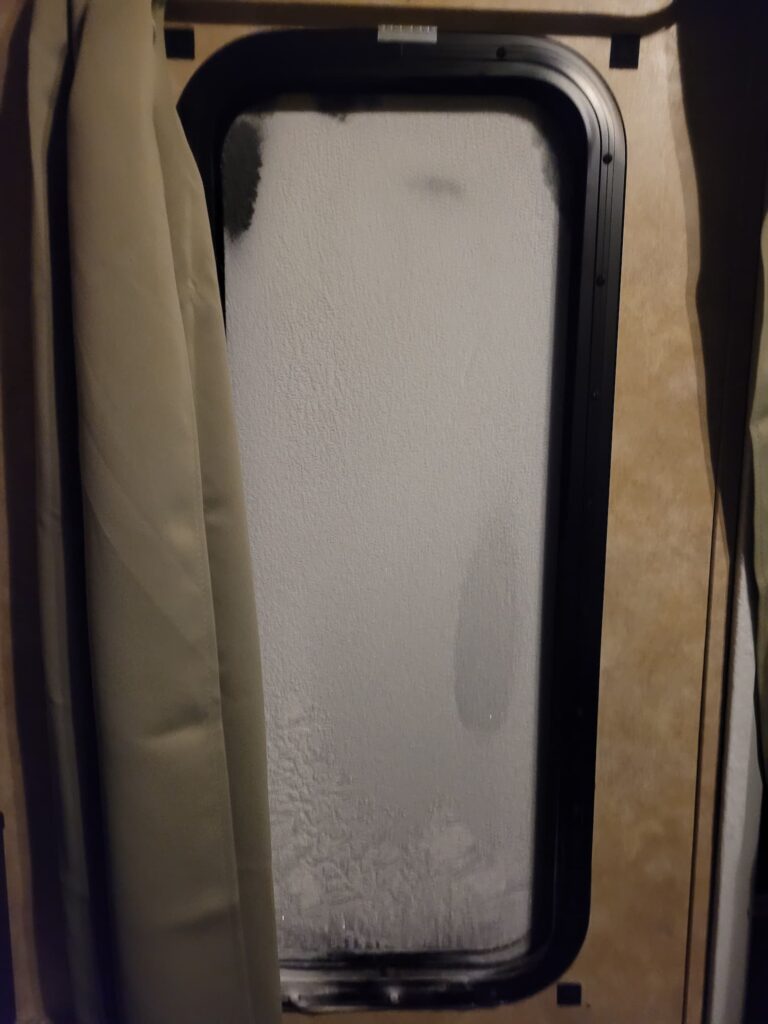
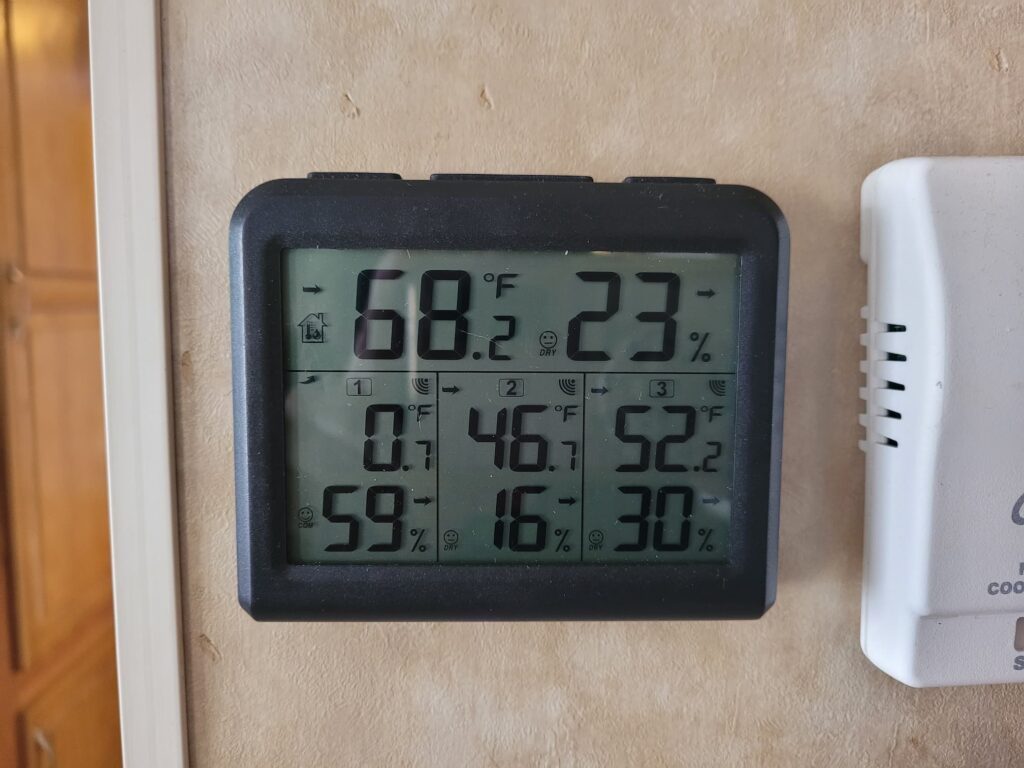
We wanted to be able to keep an eye on temperatures in and around the camper to try to catch any problems before they happened. Obviously we already have a thermostat that lets us see the indoor temperature, but we also added sensors that we can monitor from our thermostat as well. We had sensors outside, in the center of the underbelly, and at the edge of the underbelly.. In this photo taken in January you can see that it was 68° inside the RV, 0° outside, 46° at the edge of the underbelly, and 52° in the center of the underbelly.
Propane Issues in Cold Weather
January was the worst of our winter. In the third week we had a 7 inch snowstorm followed by a severe cold snap. This was while Jen was still working her in-person job at the local community college and the weather was bad enough for 3 emergency closing days in a 7-day period.
It got so cold that our propane tanks weren’t working right. Propane doesn’t actually freeze until -306°, but it does contract in extreme cold. This means there’s less volume of propane in the tank, and the pressure in the tank can drop as well. Luckily we had two extra tanks that had been in the garage, so we were able to keep rotating tanks and letting a set warm up inside.
The other thing we were worried about with propane was the cost. We were going to Tractor Supply to fill up on propane almost every other week. It definitely ended up costing a lot, but during the rest of the year we barely used any propane so it evens out over the course of a year. Propane cost is definitely something to be aware of and budget for if you’re wintering over in a cold area, but it’s not a deal breaker.
More Winter RV Essentials
If you’re looking for more ways to keep warm in your RV this winter, the Winter RVing section of our 2024 Holiday Gift Guide has some great ideas that you might want for yourself, too!
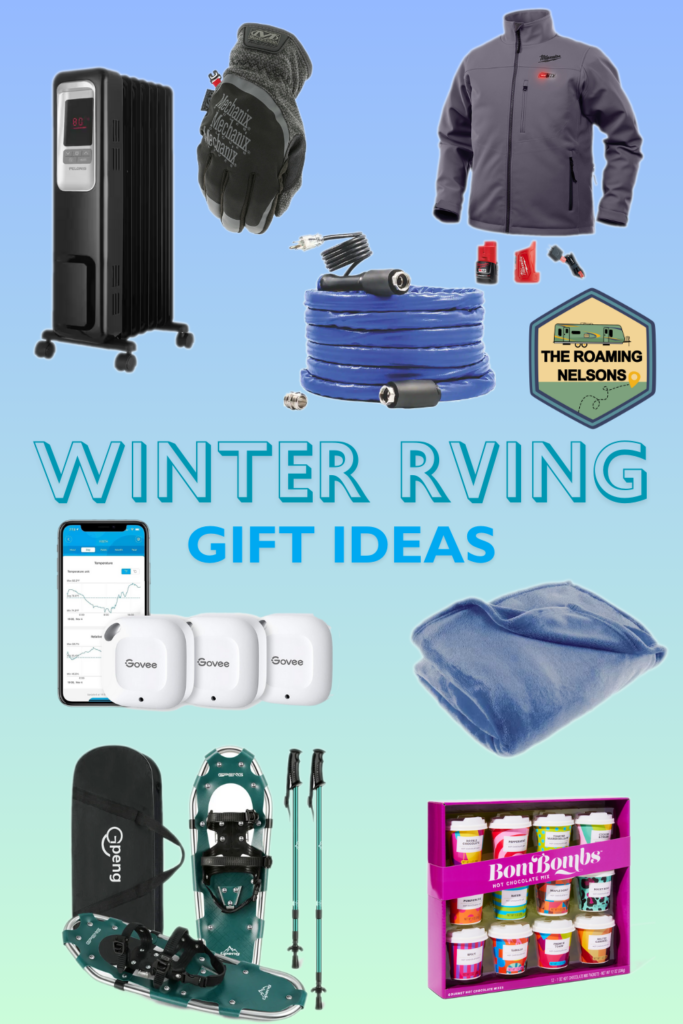
- Camco 25-ft Heated Water Hose
- Govee Bluetooth Hygrometer Thermometer Sensor
- Bedsure Oversized Fleece Blanket
- BomBombs Hot Chocolate Mix Gift Set
- PELONIS Oil Filled Radiator Heater
As an Amazon Associate we earn from qualifying purchases.


