Our RV awning was in desperate need of replacement. There were a few years between the RV being used by Josh’s grandpa and us getting it where it was neglected. The arms and motor were all good- it was just the awning fabric itself that was heavily damaged. So, like many other RV projects, we needed to learn how to replace the RV awning ourselves.
As an Amazon Associate I earn from qualifying purchases.
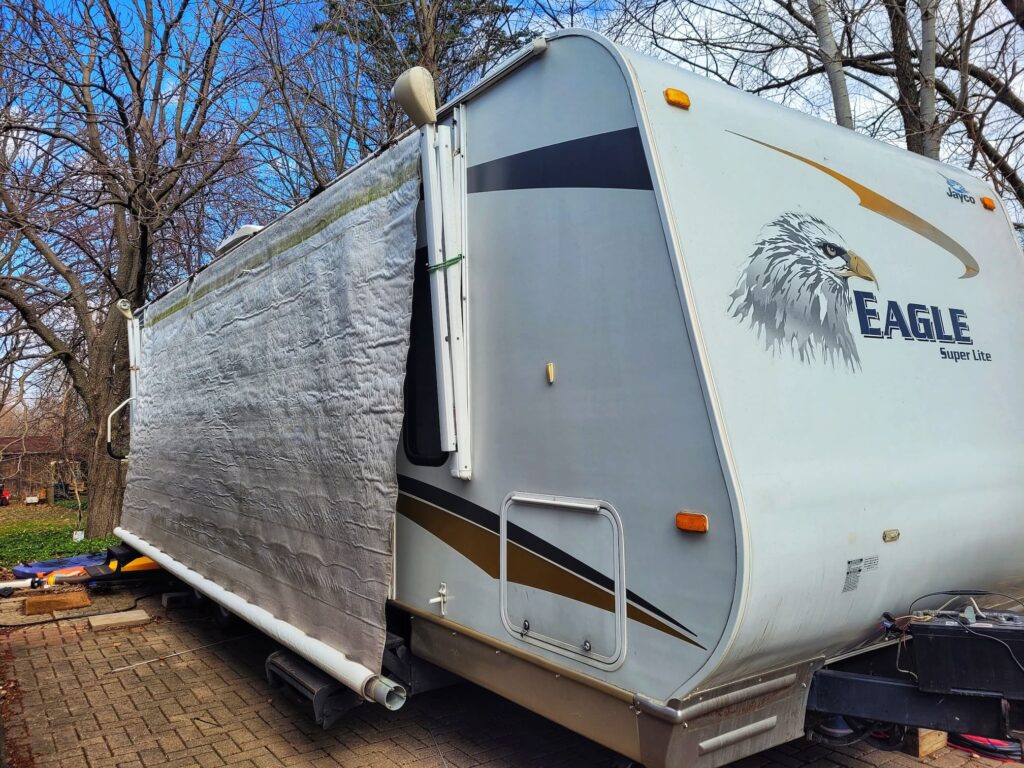
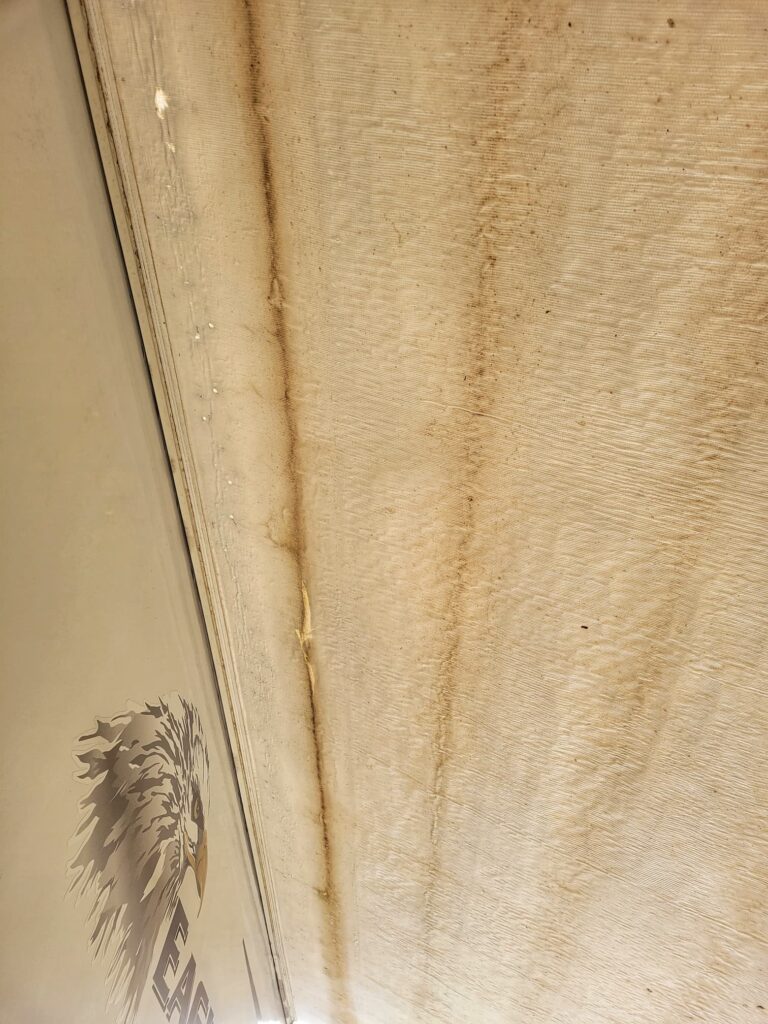
We watched a video online of how to replace an RV awning. They unscrewed the arms and then just slid it right off- easy peasy. Yeah no. I’m sure it is that easy with an awning in decent condition, but our old one was falling apart, moldy, and gross so it was not sliding off. We started with the bottom of the awning, which is attached to a metal tube. We ended up needed to cut off the awning to replace it.
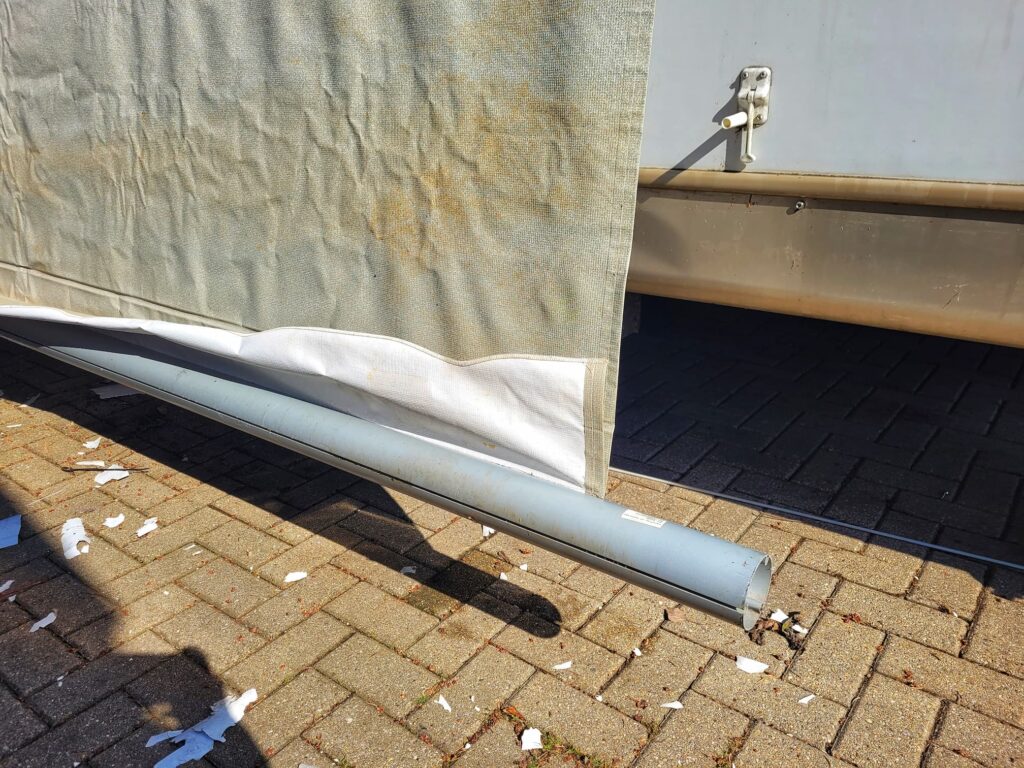
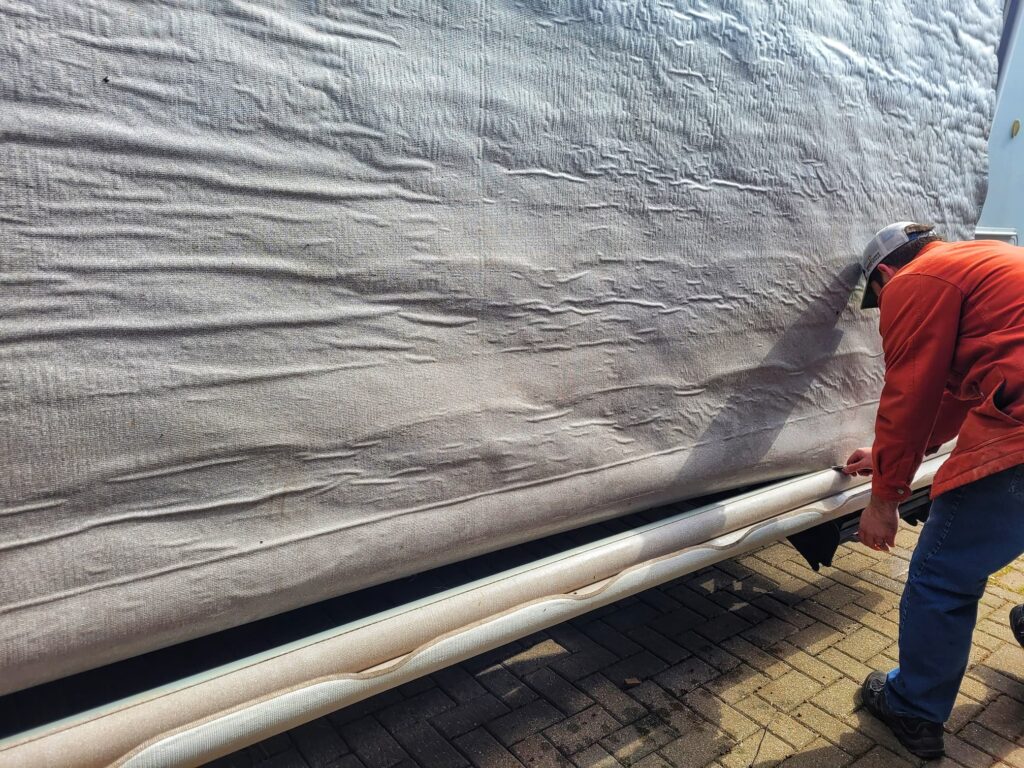
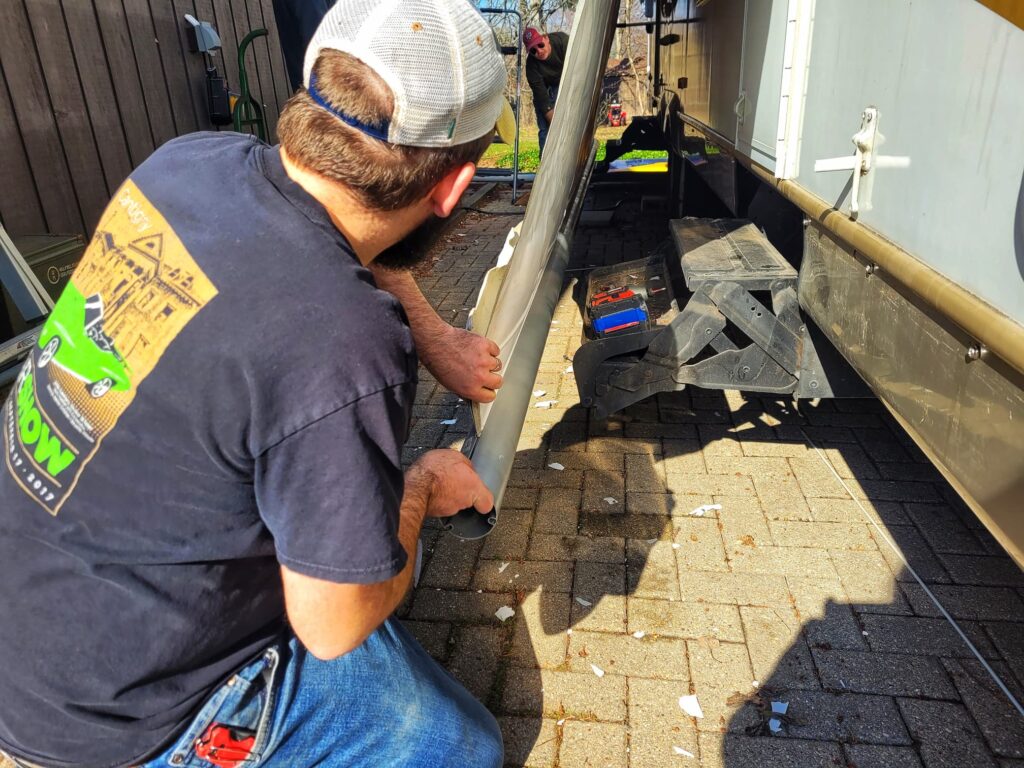
Then we gave the top a try, and still no slide- so more cutting. After the cut, what was left slid off easily since there was no weight pulling it down. To prevent future gunking up, he sprayed down the track with 3-in-One RVcare Window & Track Dry Lube.
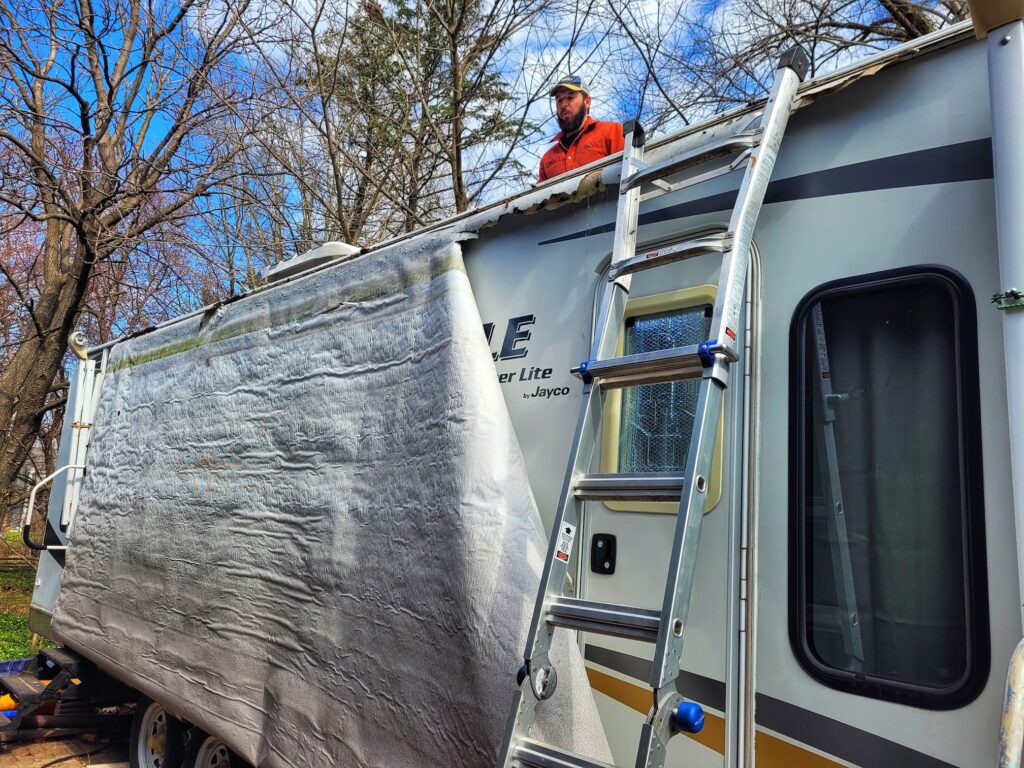
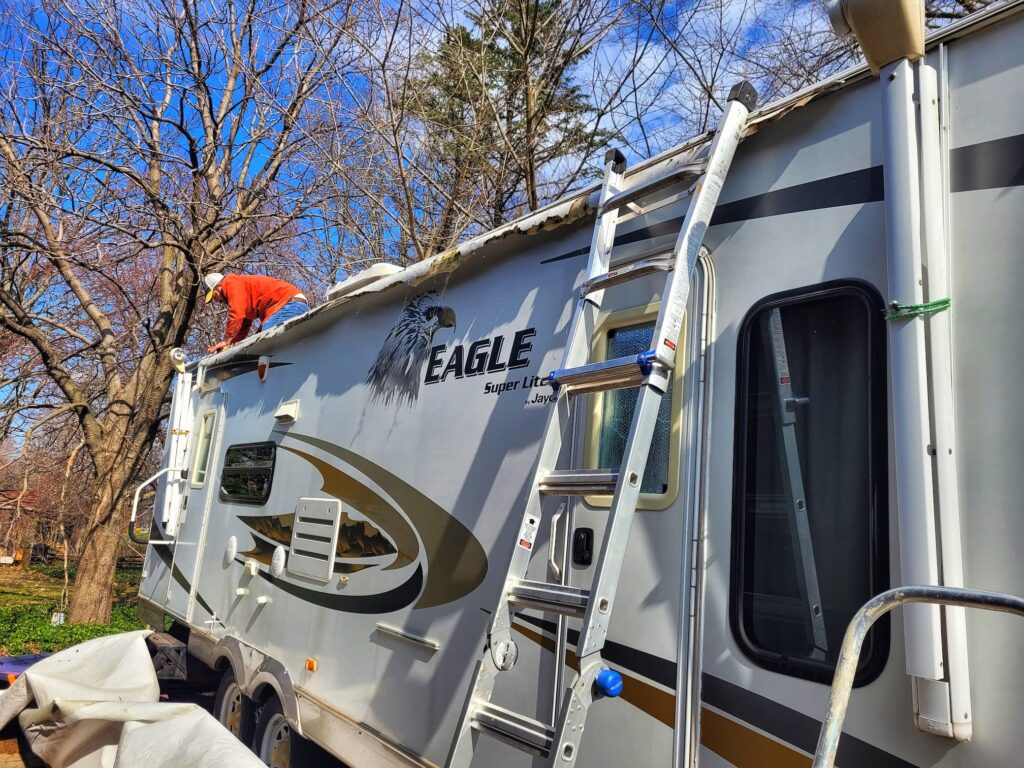
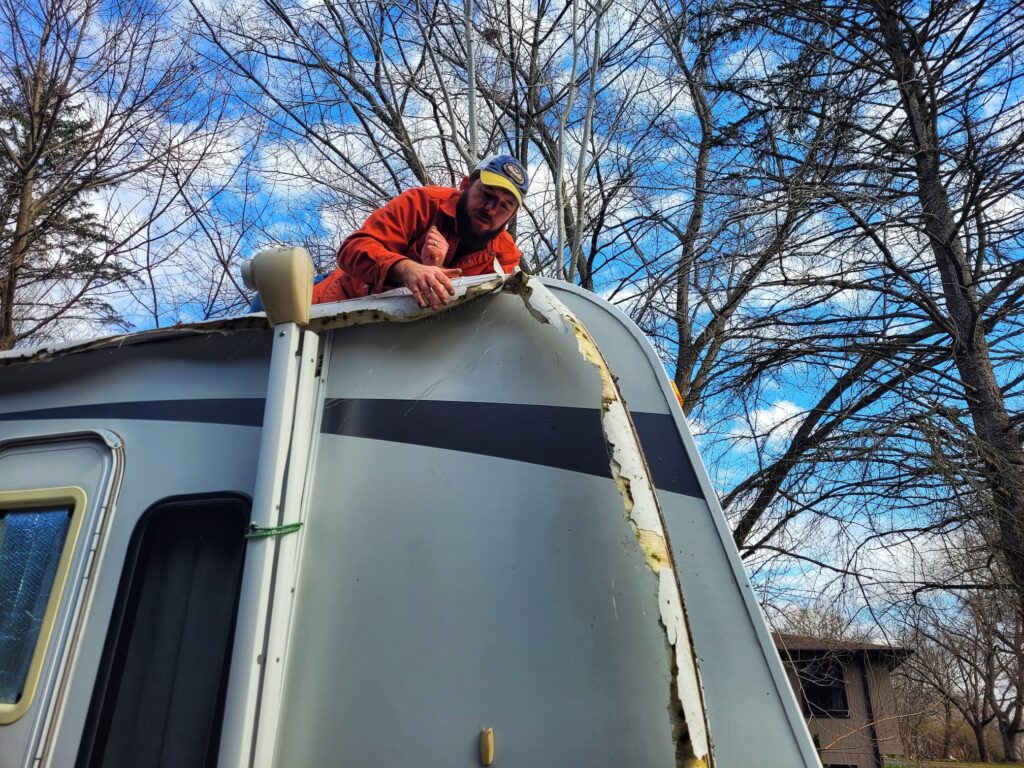
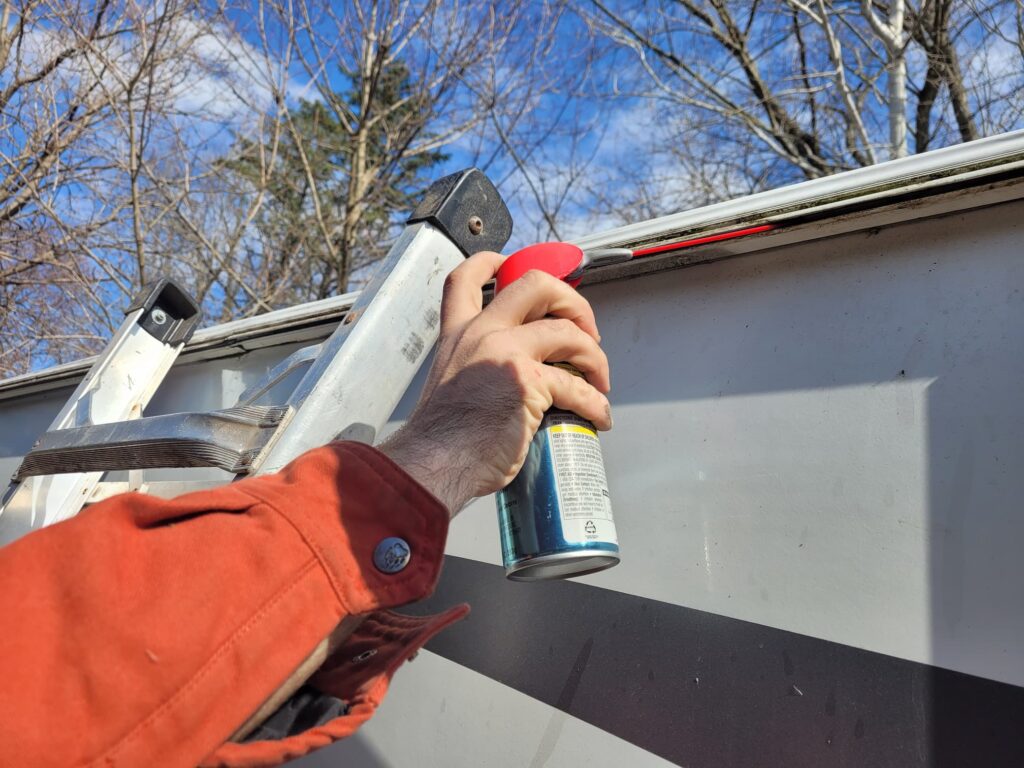
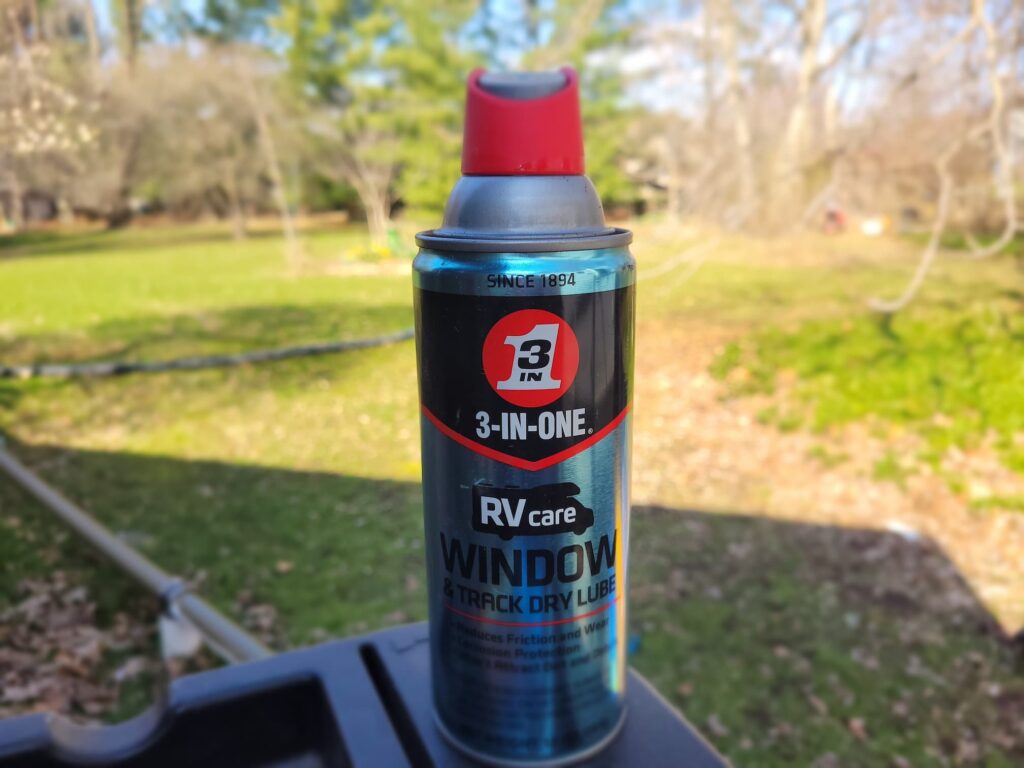
Then it was time to put up the new(er) awning. This awning was actually the original one, but at some point Josh’s grandparents (the original owners of the RV) had replaced it. Josh’s grandpa never threw away anything, though, so we found this one in the basement. It definitely has fading and some damage- but it’s better than buying a brand new!
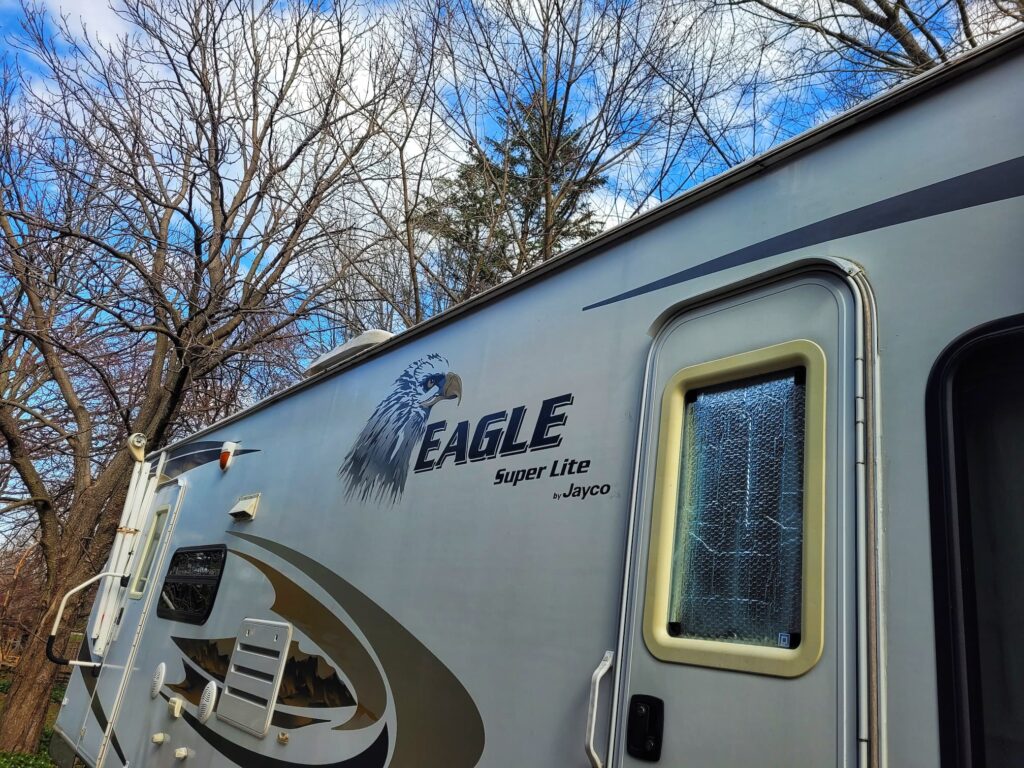
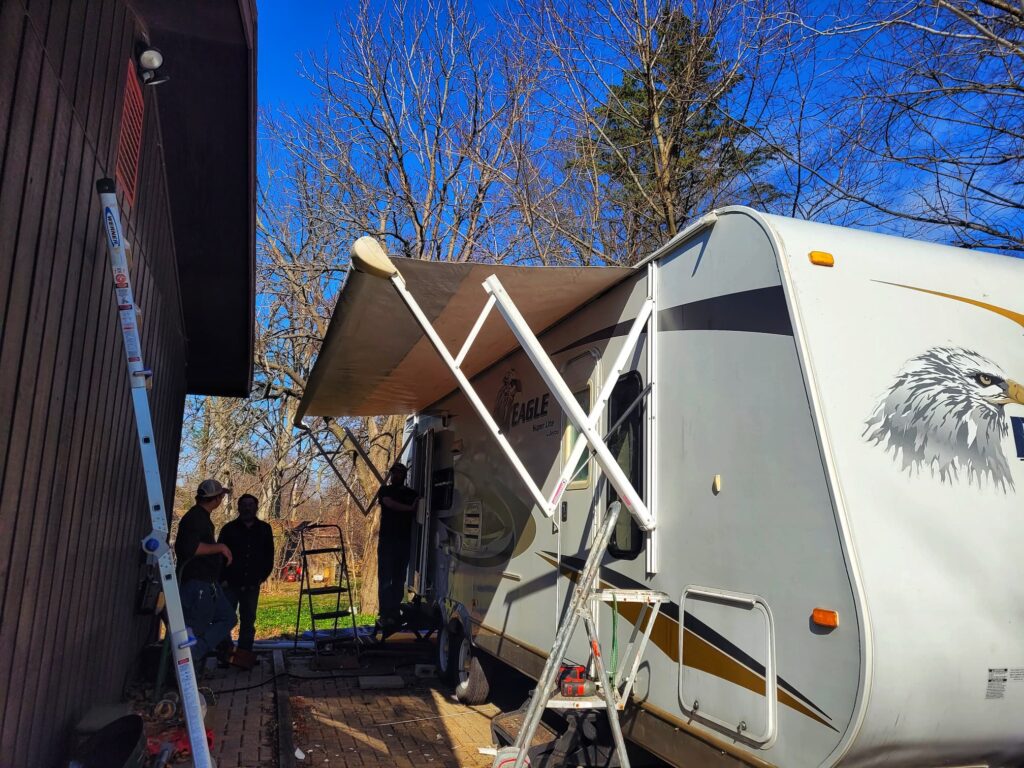
Josh got up on a ladder to feed in the awning while I guided it to make sure it didn’t snag on anything. Then his dad came out and helped guide the awning more towards the middle of the track. Our friend Max happened to stop by while we were working, so he hopped up on a ladder too. Putting on the awning went way better than taking the old one off!
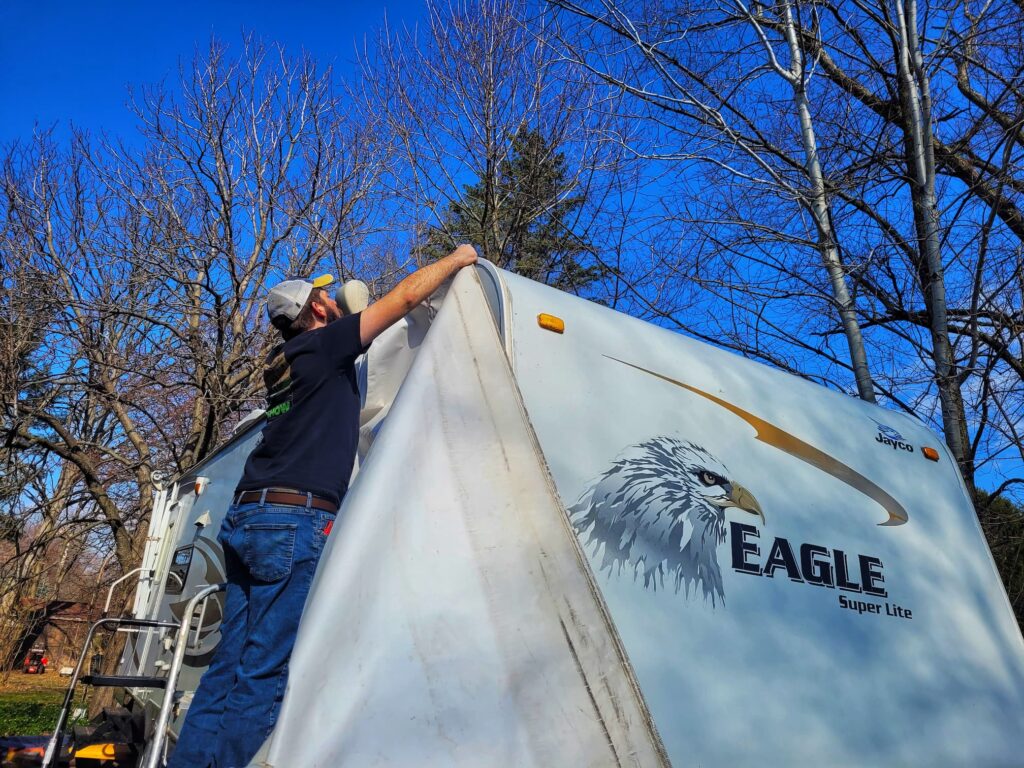
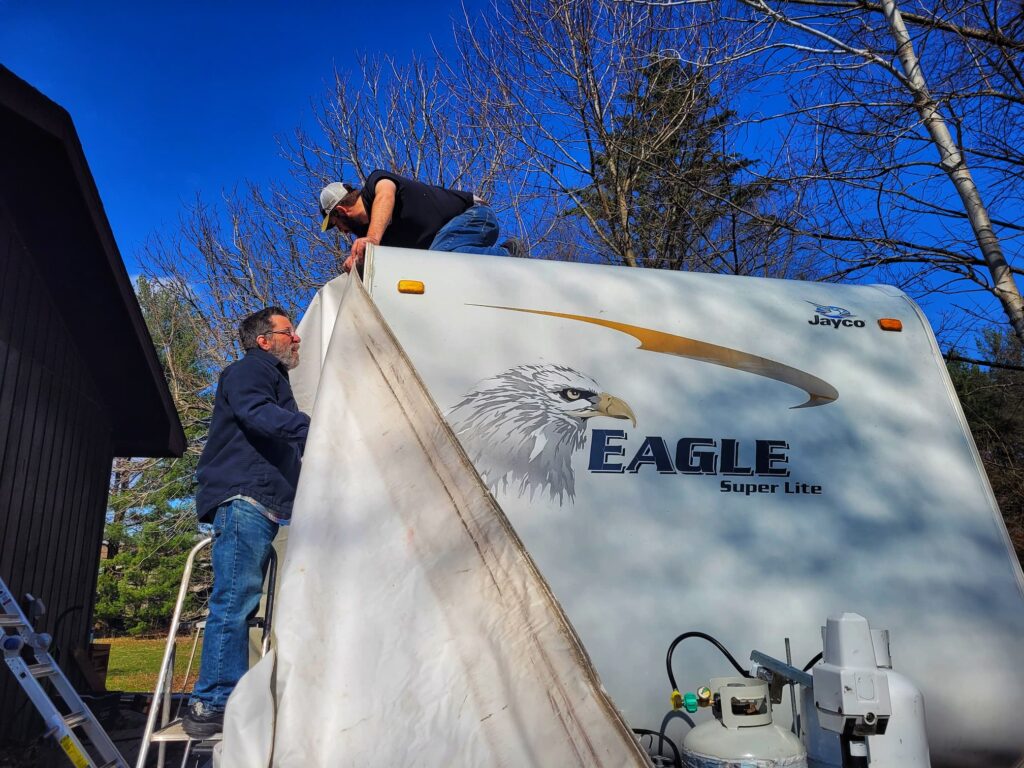
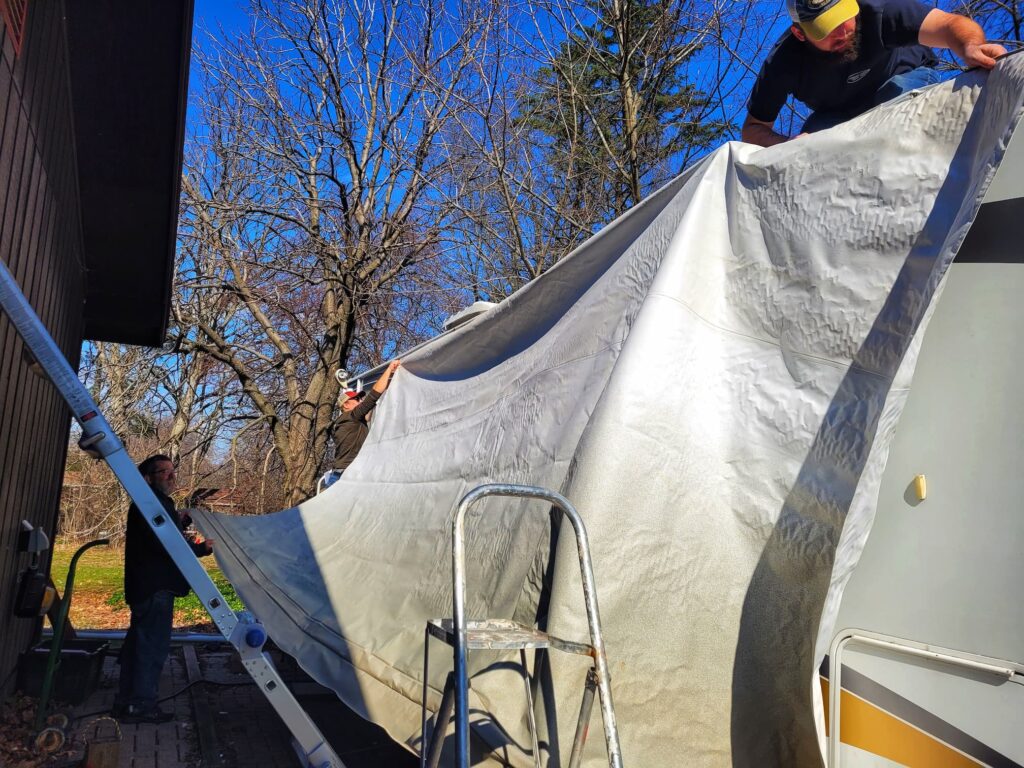
After it was fully in place on top, it was time to slide it onto the tube at the bottom. Again, this went super easy! The far end caught a little on a hem, but it was easy to maneuver. Then the guys manually rolled up the awning and reattached it to the arms. Basically the tube popped into the collar of the arms and then there’s a couple screws to secure it.
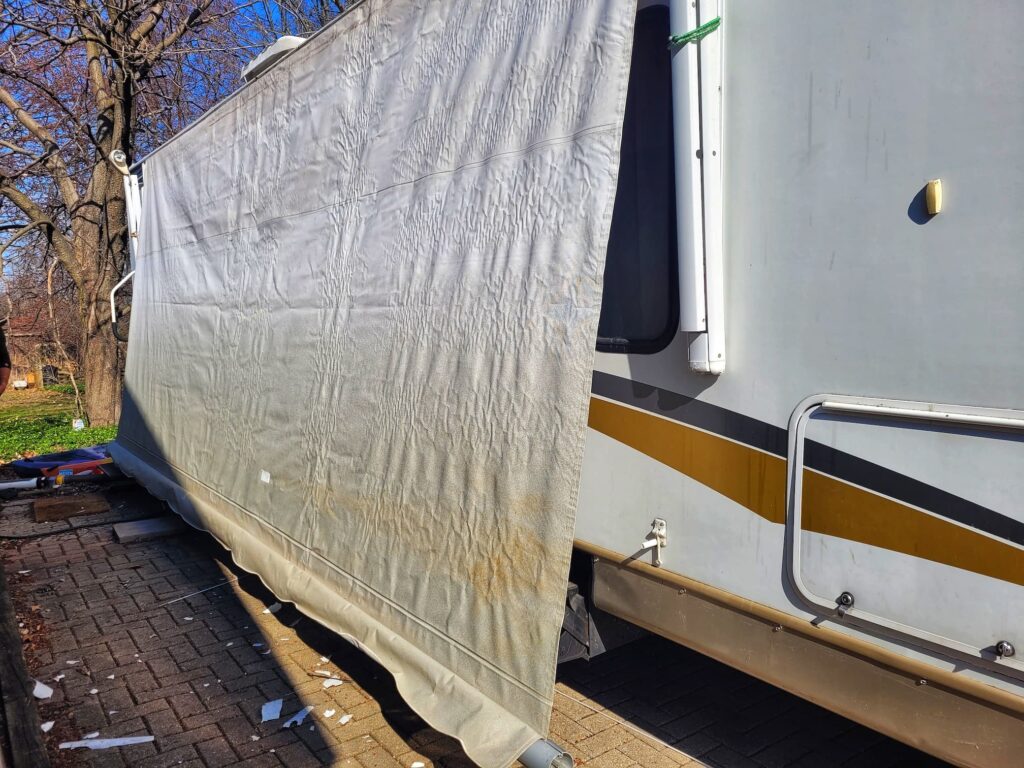
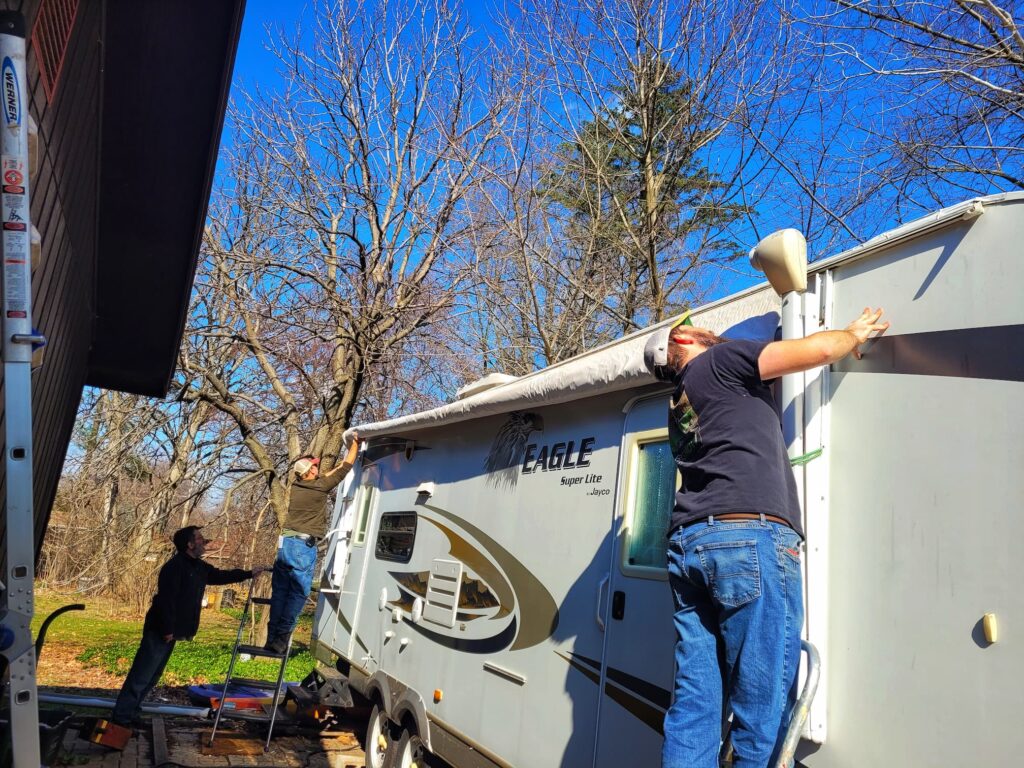
We did a couple tests and it was all good to go!
