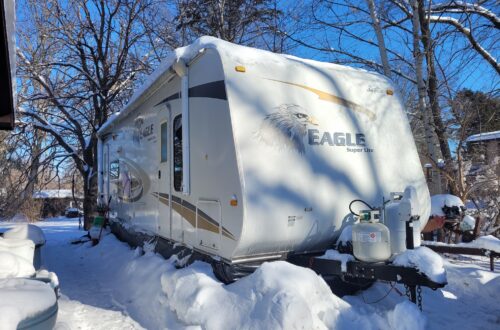
We knew we had some repairs to do on the RV before hitting the road, but they were mostly pretty minor. The biggest projects we had were things like creating a built-in desk and an enclosure for Rosie. We did NOT expect to have to learn how to replace RV subfloor.
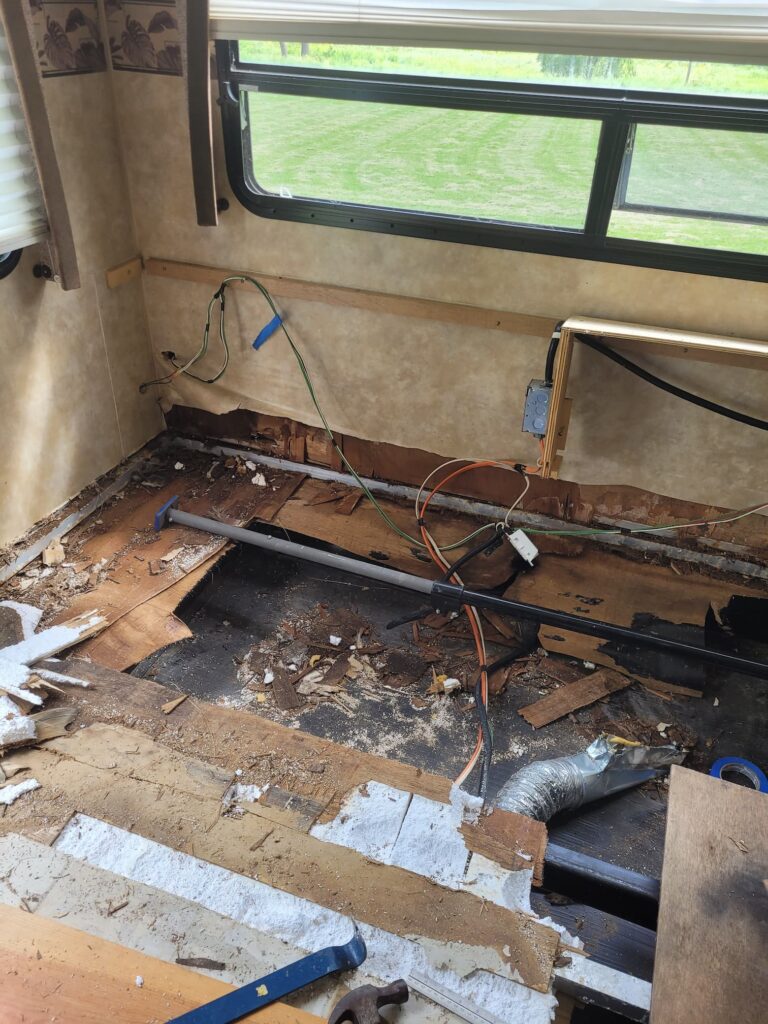
We were getting ready to work on the built-in desk, which meant removing the original arm chairs from the living room. As we were taking out the second chair, Josh realized that the floor didn’t feel right underneath. It felt oddly squishy. So we lifted up the carpet to look underneath, and not only was the floor soft and wet, but there was a hole starting to form where the leg of the chair had been.
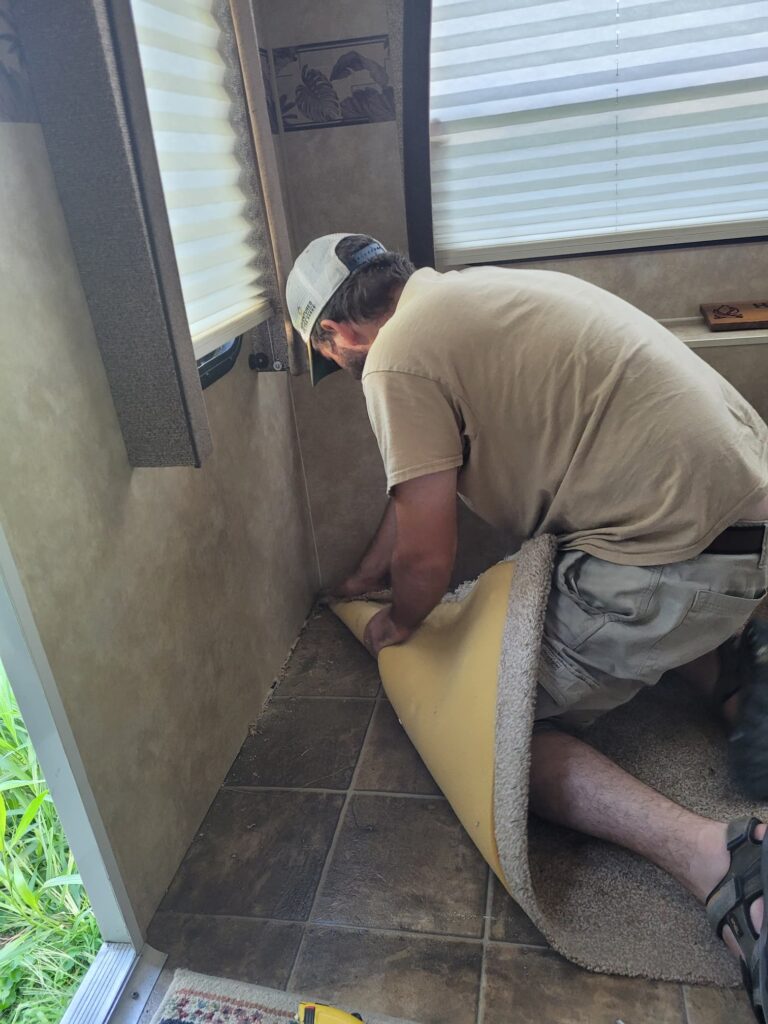
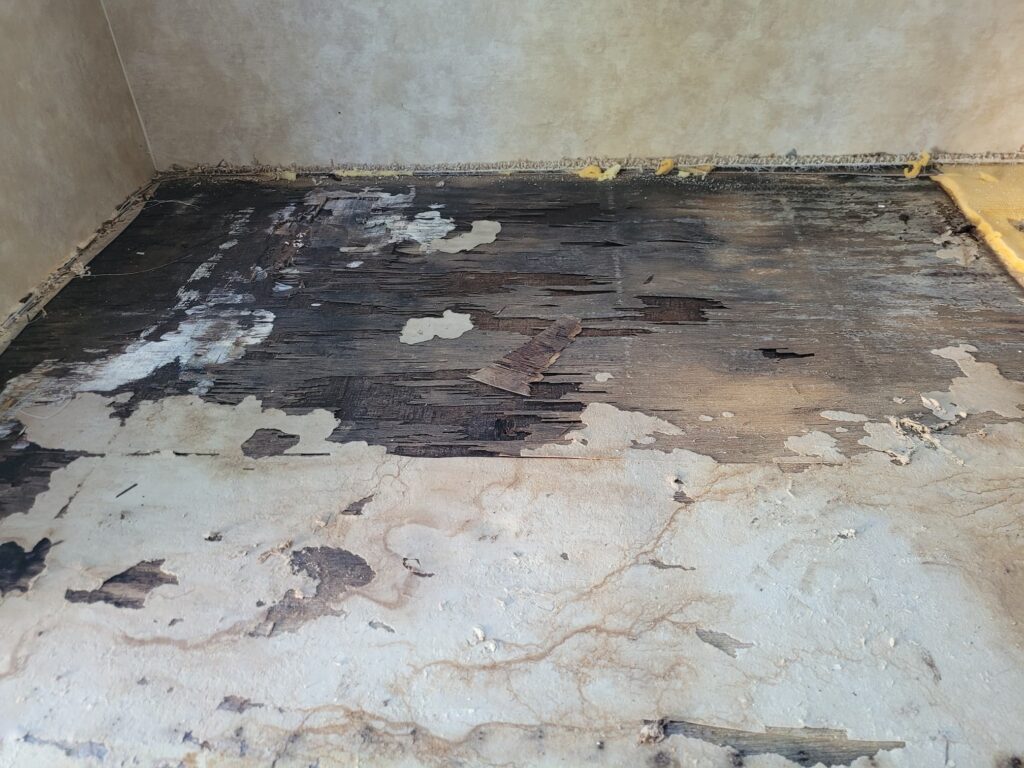
So we started ripping up more carpet and laminate and it was bad. Real bad. The wood subfloor was saturated and rotting. We kept tearing stuff up trying to find where the end of it was. With each cut our hearts sunk more and more, worried that our whole camper could be like this. Luckily, we finally found solid floors surrounding the problem area. It was way more of a project than we were expecting to do, but at least it didn’t mean replacing the whole floor or the whole RV. The saving grace was that we have an aluminum frame RV. If there had been wooden framing that had rotted too, it would have been a whole different story.


We both did some research online about how to replace RV subfloors and came to the conclusion that it was definitely doable. A time sink, but doable.
We started with tearing out all the old rotten floor. Because it was so wet and mildewy, we didn’t want to leave any behind so we were very thorough. This also included scraping all the rotten wood from between the frame and walls, which was a nice long tedious job.

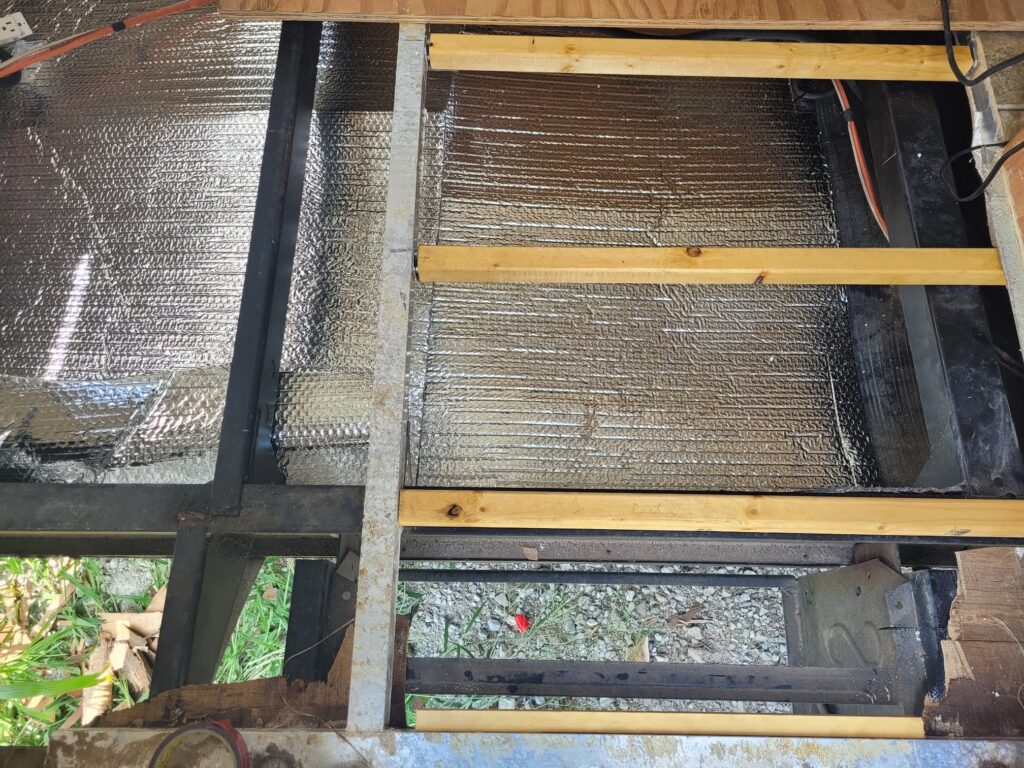
We had been wanting to add more insulation to the RV anyways, so we used this as an opportunity. Once everything was removed and cleaned up, the first layer we put in was sheets of reflective insulation.
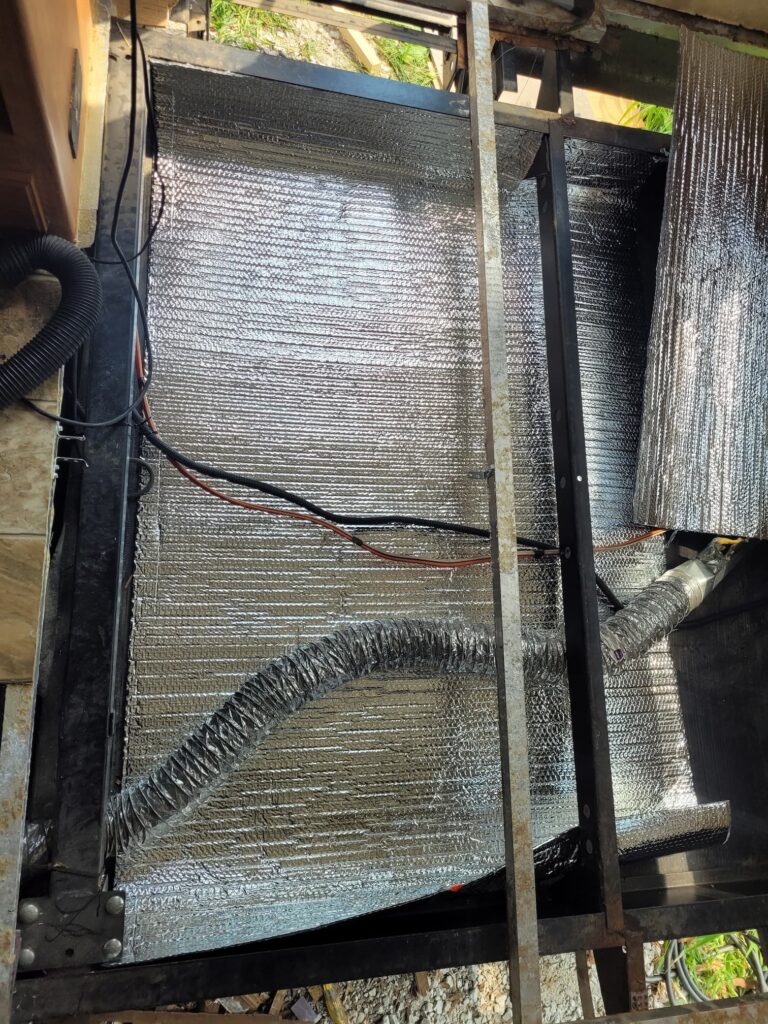
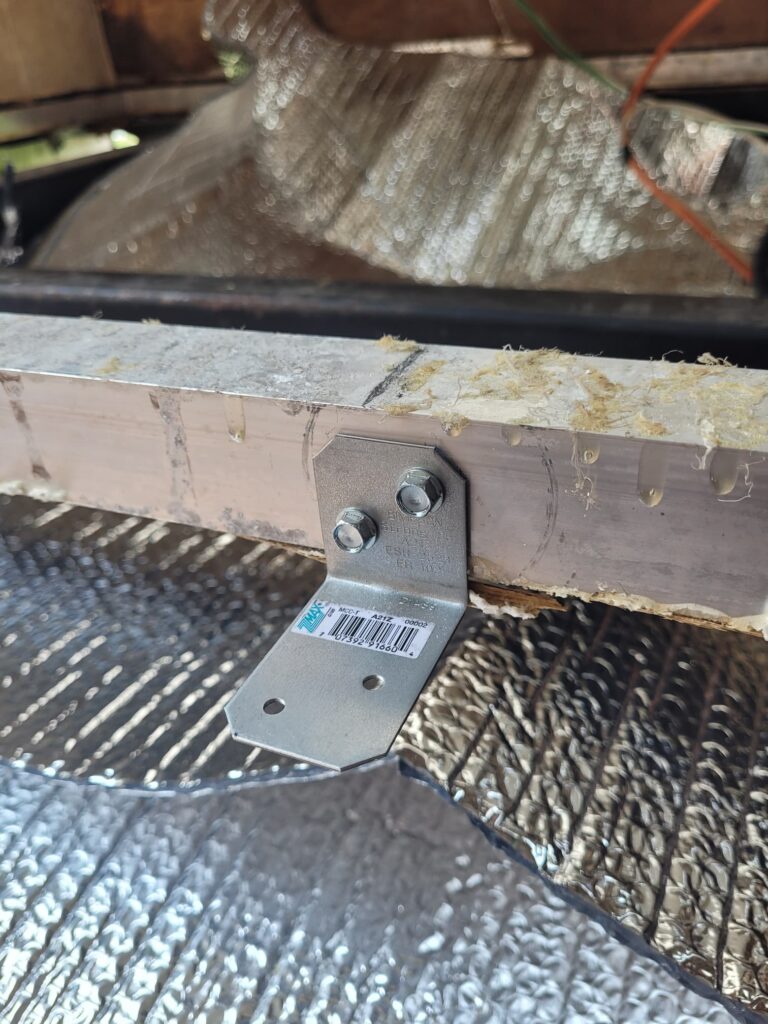
Because our old floor had layers of wood with foam in between, and because we weren’t replacing it with the same, Josh decided to add extra support underneath the subfloor. We used a mix of brackets screwed into the aluminum frame to support epoxied wood 2x2s. We used both 1 1/2 in. corner braces and 2 in. x 1 1/2 in. angle brackets.The next layer we added was more insulation in the form of 2 inch pink foam. We cut down sheets to fit in the gaps between the 2x2s. We were able to just wedge them in, which meant not needing to add any extra adhesives or supports.
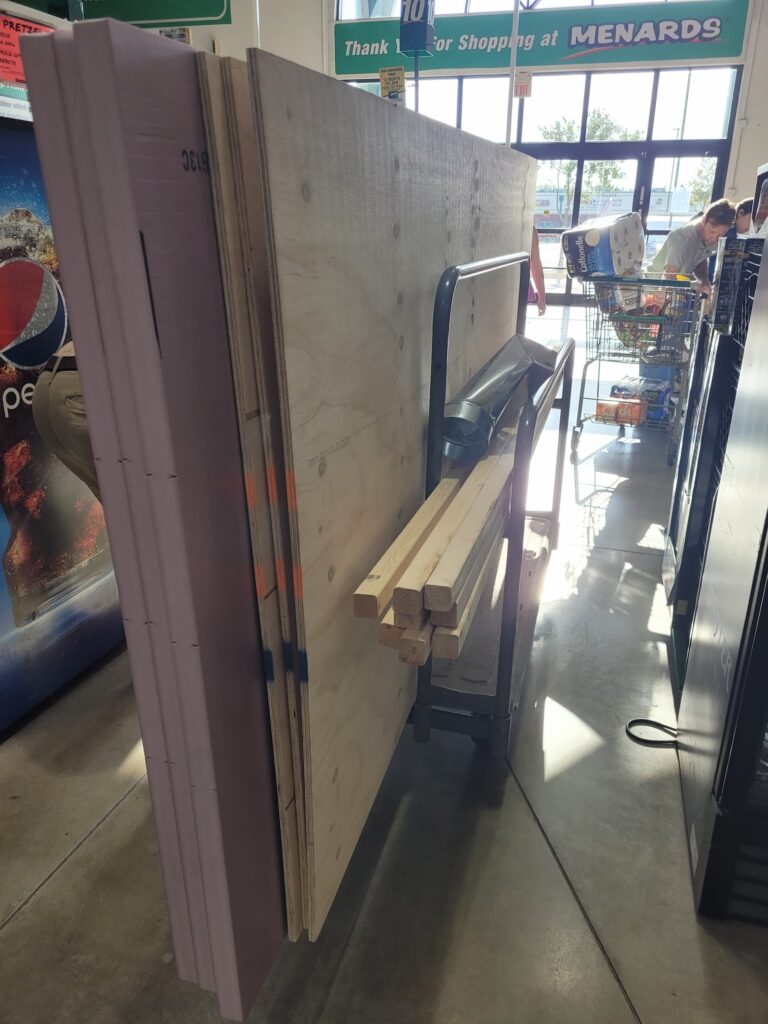
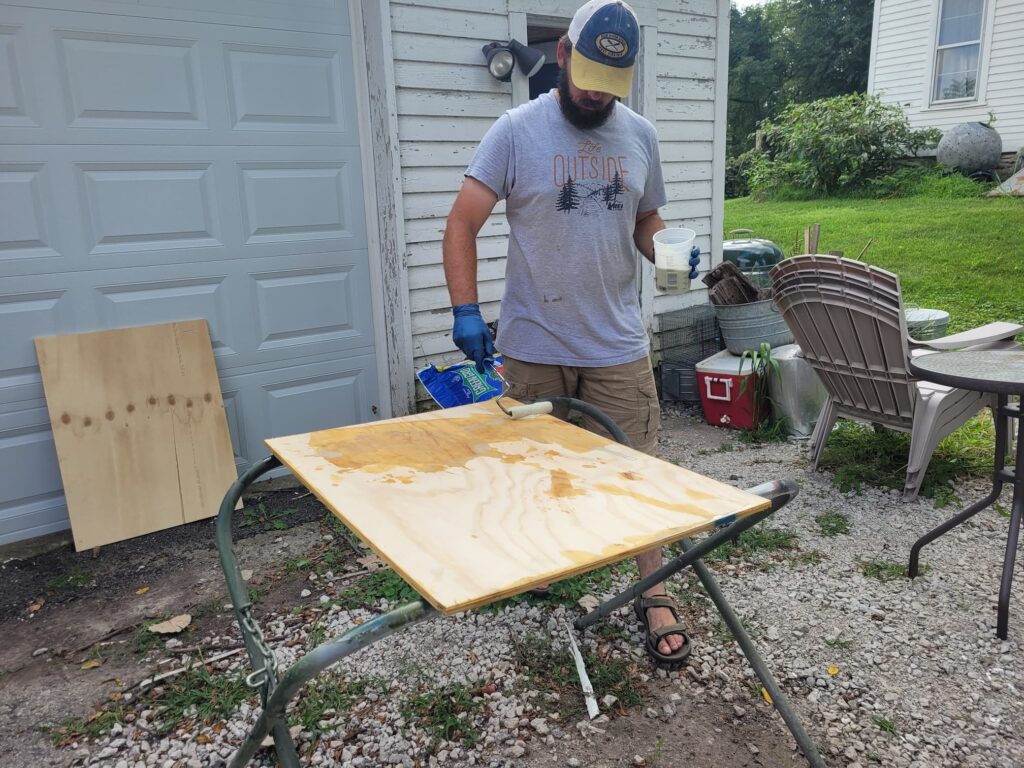
Now for the layer we most debated over. We spent a lot of time researching, shopping, and debating what materials to go with. Josh and I thought a lot about how to balance cost, weight, and stability when choosing our main subfloor material. We looked at other thicknesses and grades of plywood, and ultimately landed on ½ inch. Like the 2x2s, each sheet also got a coat of epoxy.
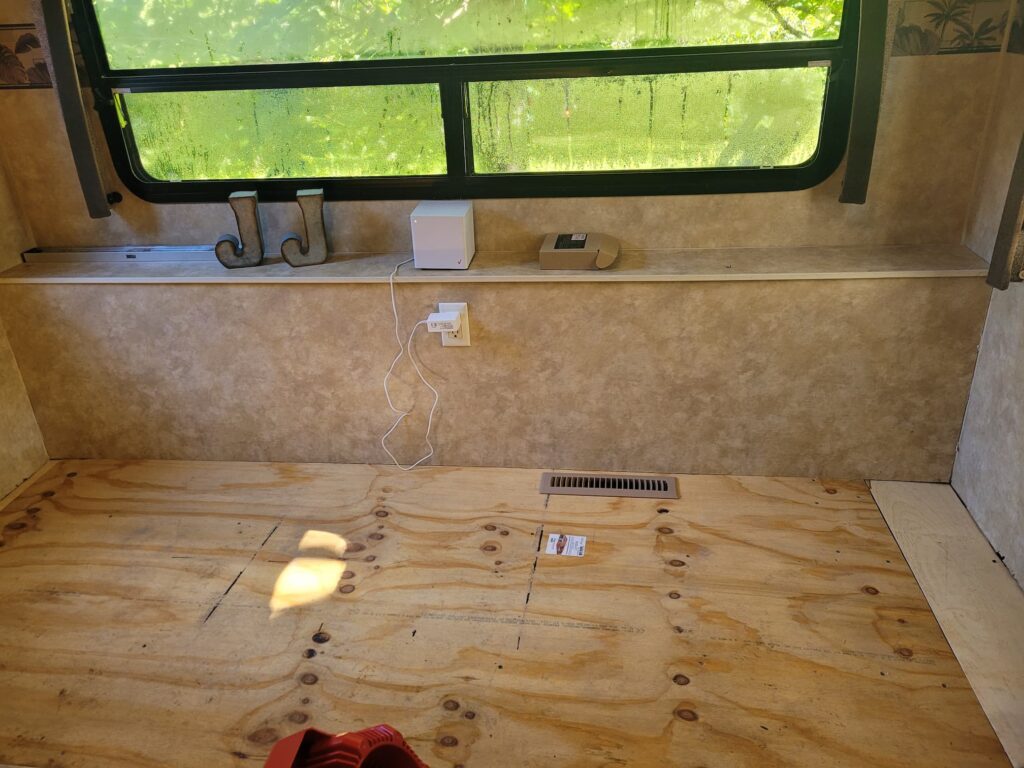
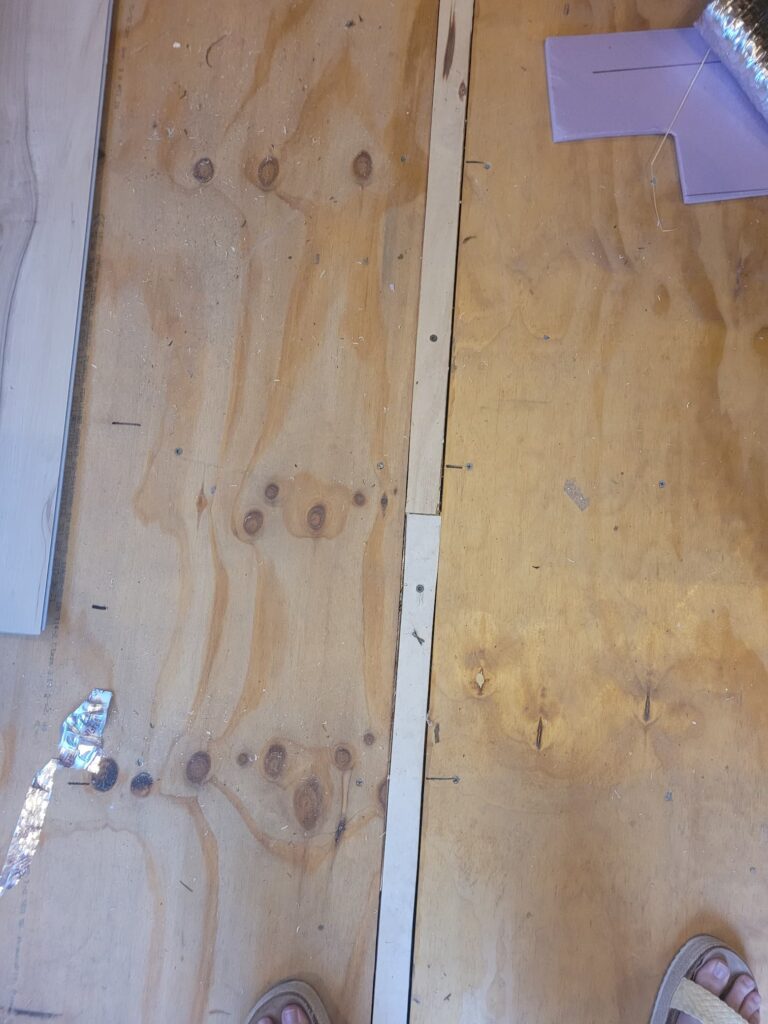
The plywood sheets got screwed down over the foam layer and then it was time for the final step (of the subfloor, at least)! Josh cut down plywood strips to fit between the main plywood pieces and cover the aluminum framing. With the subfloor finished, we moved on to trying to decide on flooring- but that’s a whole other story.
RV Subfloor Replacement Materials List
Pro Tip: Save time (and avoid wandering the aisles) – order your RV subfloor repair materials online at Home Depot for easy in-store pickup. Click the links below to get everything ready for you! (Amounts of each item will vary based on how large of an area you’re replacing)
- 2 in. x 2 in. lumber
- 2 in. rigid foam board
- 1/2 in. sanded plywood
- 1 in. x 2 in. plywood furring strips
- 1 1/2 in. corner braces
- 2 in x 1 1/2 in. galvanized angle braces
- Self-tapping screws
- Reflective insulation
As Home Depot affiliates, we earn commission on qualifying purchases at no extra cost to you.